
A professional-looking paint finish rarely comes from a special brush or an expensive paint. It comes from the sequence of steps taken before and during painting: the preparation that makes paint adhere, the finish and tools that suit the room, and the order of work that prevents drips, lap marks, and rough edges.
This guide follows the order a careful painter follows, from preparation through finish choice, cutting in, rolling, and drying. It does not assume experience, but it does assume patience. Most painting mistakes are not caused by a lack of talent; they are caused by skipping preparation, rushing a coat, or using the wrong finish for the room.
Preparation: Cleaning, Filling and Taping
Preparation is the least glamorous part of painting and the most important. Start by emptying the room as far as possible, removing pictures, curtains, and loose fittings, and moving the remaining furniture to the centre and covering it with dust sheets. Floors should be protected too, because paint on a carpet or a wooden floor is far harder to remove than it is to prevent.
Next, clean the walls. Dust, grease, and grime prevent paint from adhering evenly, and they are most common around light switches, door frames, and cooking areas. A wash with a mild cleaning solution, followed by a rinse and a full dry, is usually enough. Walls that are glossy should be lightly sanded to give the new paint something to grip, and the dust should be wiped away before painting begins.
Filling comes next. Small nail holes, dents, and hairline cracks should be filled with a suitable filler, allowed to dry, and sanded smooth. Larger damage, such as loose plaster, damp patches, or cracks that reopen, needs investigation before it is painted over. Painting over a problem does not fix it; it simply hides it until it reappears through the new finish.
Finally, tape the edges that need protection: skirting boards, window frames, door frames, and any edge where two colours will meet. Press the tape down firmly so paint cannot creep underneath, and remove it at the right time, as described below. Taping takes time, but it is what produces the crisp lines that distinguish a professional finish from an amateur one.
Choosing Finish and Tools
Paint finish affects how a room looks and how it wears. Matt and flat finishes hide wall imperfections and give a soft, even appearance, but they are harder to clean. Eggshell and satin finishes are more durable and wipeable, making them a good choice for hallways, kitchens, and children’s rooms. Gloss is the most durable and the most reflective, and it is best reserved for woodwork, where its hardness and washability are advantages and its shine is expected.
Colour choice interacts with finish and light. A colour that looks perfect on a small sample can look very different on a whole wall, in daylight and in artificial light, and next to existing furniture and flooring. Test a colour on a large patch, or on a board that can be moved around the room, and live with it for a day before committing. For help with restful shades, see How to Choose Bedroom Colours That Help You Unwind. A test patch costs little and prevents the most common painting regret: a whole room in a colour that looked different in the shop.
Tools matter, but they do not need to be expensive. A good-quality brush for cutting in, a roller with a sleeve suited to the wall’s texture, a sturdy tray, an extension pole for ceilings, and a ladder that is stable and tall enough are the essentials. Cheap brushes shed bristles and leave streaks, while a roller sleeve that is too smooth or too thick for the wall will leave an uneven finish. Buying one good brush and roller is better than buying several poor ones.
Quantity is worth calculating before buying. Measure the walls, subtract large windows and doors, and allow for two coats, because almost every room needs a second coat for full coverage and durability. Running out of paint halfway through a wall is a common cause of visible joins, especially if a new tin is a slightly different batch. It is better to have a small amount left over for touch-ups than to run short.
Cutting In and Rolling in Order
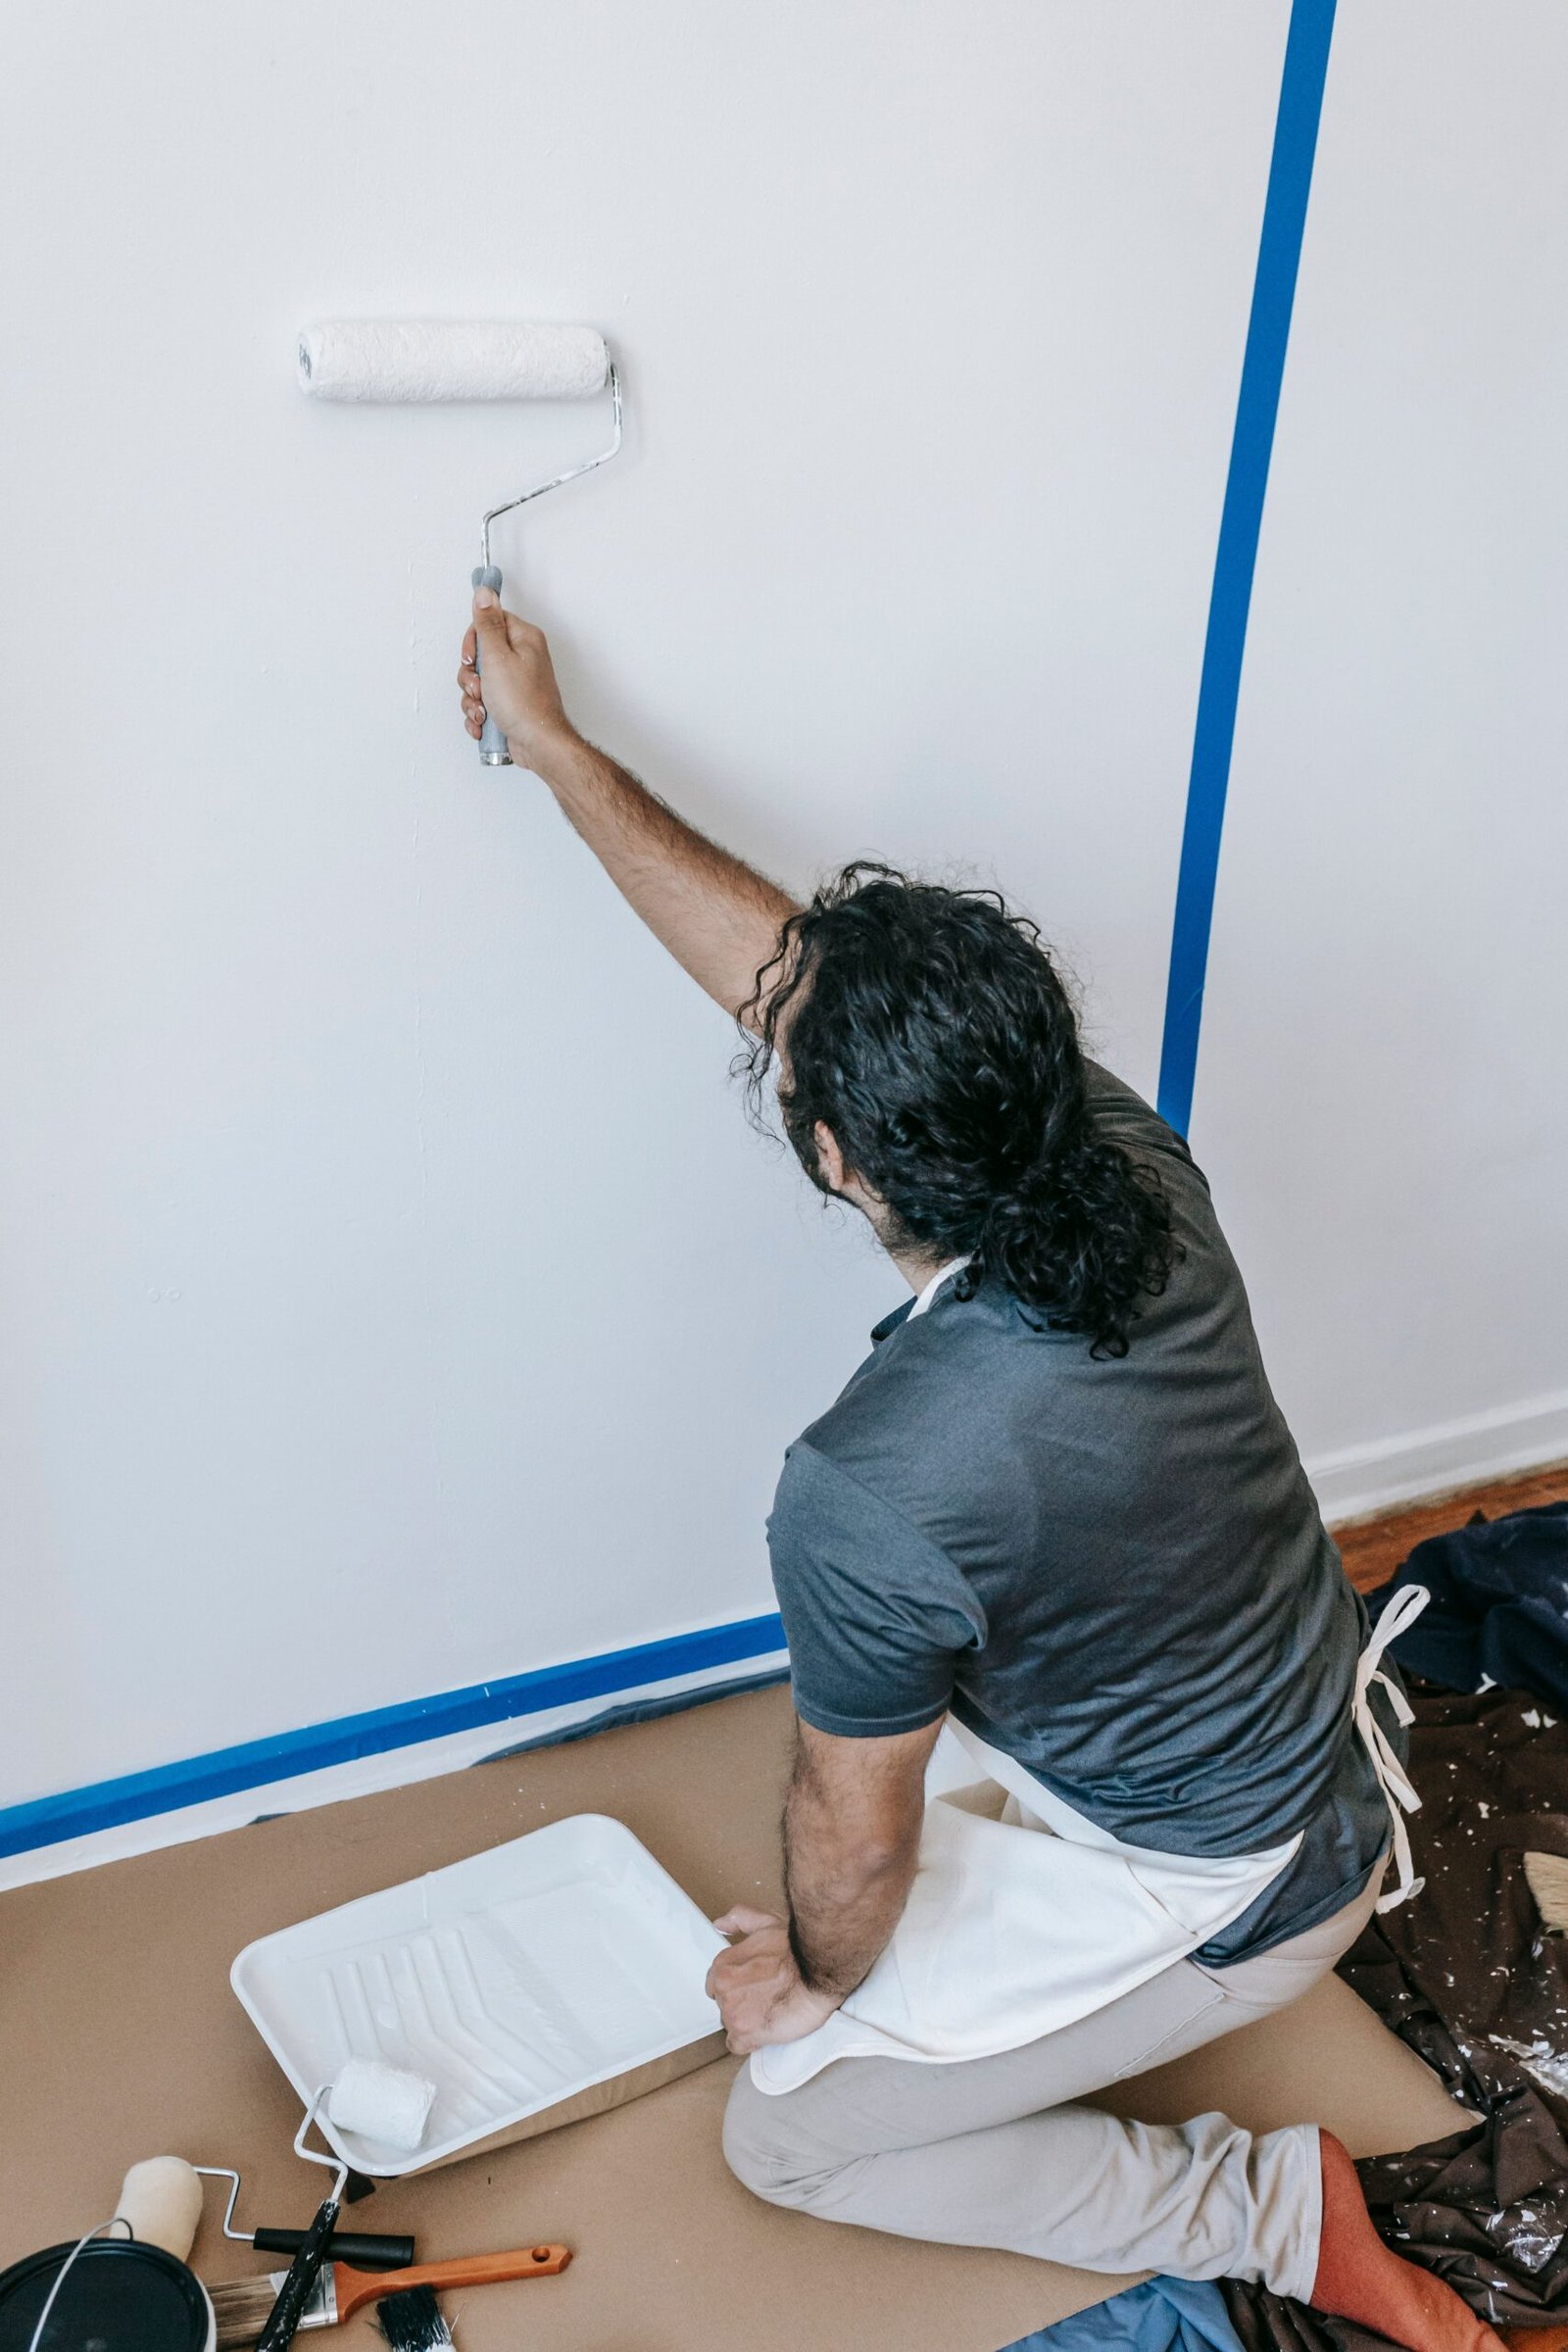
The order of work is simple: ceiling first, then walls, then woodwork, working from the top of the room downwards so that drips fall onto surfaces that have not yet been painted. Within each wall, cut in first, then roll. Cutting in means painting the edges — around the ceiling, into corners, around window and door frames, and along skirting boards — with a brush, creating a border of paint about two to three inches wide. This border gives the roller somewhere to blend into without touching the adjacent surface.
Cutting in well takes a steady hand and a brush that is loaded, not overloaded. Dip the brush about a third of the way into the paint, tap off the excess rather than wiping it hard against the tin, and work in smooth, even strokes. A brush that is too full drips and leaves thick edges; a brush that is too dry leaves streaks and drags. Work in sections of about a metre at a time, keeping a wet edge so that each new stroke blends into the last, because paint that has started to dry will show a lap mark where a new stroke overlaps it.
Rolling should follow immediately, while the cut-in border is still wet, so that the roller blends into it without a visible line. Load the roller evenly by rolling it in the tray until the sleeve is coated but not dripping, then apply the paint in a large W or M pattern on the wall, and roll back over it to spread it evenly. Work in sections, overlapping each section slightly, and finish each section with light, even strokes in one direction to level the paint. Avoid pressing hard, which squeezes paint out unevenly and leaves roller marks, and avoid rolling back over paint that has begun to dry.
Woodwork comes last, after the walls are dry, so that wall paint does not drip onto freshly painted trim. Doors, skirting boards, and architraves should be lightly sanded between coats, wiped free of dust, and painted with a brush suited to the work, using long, even strokes along the length of the timber. Painting woodwork after walls also makes it easier to achieve a crisp line where the two meet, because the wall edge can be taped or cut in against, rather than the other way round.
Drying, Second Coats and Clean-Up
Drying time is not wasted time; it is part of the finish. Most paints are touch-dry within a few hours but need longer before they can be recoated, and the time depends on temperature, ventilation, and humidity. A room that is cold or damp will dry slowly, and painting a second coat too soon can lift or wrinkle the first coat. Ventilate the room gently — an open window and a door ajar, rather than a blast of cold air — and follow the drying time on the tin rather than guessing.
A second coat is almost always needed, even when the first coat looks good. The first coat seals and covers, but it often leaves thin patches, slight colour variation, and areas where the old colour shows through, especially when painting a light colour over a dark one. The second coat evens the colour, builds the finish, and gives a durability that a single coat cannot. In some cases, particularly with strong colour changes, a primer or a third coat may be needed, and it is better to accept that early than to live with a patchy finish.
Clean-up is part of the job, not an afterthought. Remove tape while the final coat is slightly tacky, replace switch plates and socket covers, and put furniture back only when the paint is dry enough not to mark. Brushes and rollers should be cleaned thoroughly if they are to be reused, or disposed of responsibly if they are not. Store leftover paint with a label noting the room, the colour, and the finish, because that tin is the difference between a quick touch-up and a full repaint when a wall is scuffed in the future. A painting project that ends with a clean room and labelled leftovers is a project that was finished properly, and the same approach to preparation and finish applies to other rooms, including a cosmetic update without structural work as described in Bathroom Refresh Ideas Without a Full Renovation. For readers planning a larger refresh on a tight budget, the principles of high-impact, low-cost change are also useful in Budget Kitchen Makeover Ideas That Don’t Require New Cabinets.
FAQ: Painting a Room
Do I really need to prime before painting?
Not always, but primer helps on new plaster, over dark colours, on stained walls, and on surfaces that have been repaired. It seals the surface, evens absorption, and helps the topcoat cover in fewer coats. On a sound wall already painted in a similar colour, a good topcoat alone is often enough.
How do I avoid visible roller marks?
Keep a wet edge, do not press hard, and finish each section with light, even strokes in one direction. Avoid rolling back over paint that has started to dry, and use a roller sleeve suited to the wall’s texture, because the wrong sleeve is a common cause of marks.
How long should I wait between coats?
Follow the time on the paint tin, and allow longer in cold or damp conditions. Touch-dry does not mean ready to recoat, and painting too soon can lift or wrinkle the first coat. Gentle ventilation helps, but a cold draught can cause uneven drying.
When should I remove masking tape?
Remove it while the final coat is still slightly tacky, pulling away from the painted surface at a low angle. Waiting until the paint is fully dry risks lifting the new paint with the tape, while removing it too early risks smudging wet paint.
Conclusion
A professional-looking paint finish is the result of a method, not a mystery. Clean, fill, and tape before painting; choose a finish and tools suited to the room; cut in before rolling, working from the top down; and allow proper drying and a second coat. Each step is simple on its own, and together they produce a finish that lasts and looks deliberate.
The reward for that patience is a room that feels new without any structural change, and a skill that transfers to every room in the house. Paint carefully once, note what worked, and the next room will be easier, faster, and better finished than the first.
2 thoughts on “How to Paint a Room Like a Pro: Preparation, Technique and Finish”