
A kitchen at six in the evening is several rooms at once: a place to chop safely, a place to watch a pan without shadows, a place to eat, and a place to gather with people while the food finishes. One light cannot serve all of those roles, which is why so many kitchens feel either harshly bright or frustratingly dim. The answer is layered, task-based lighting: bright where you work, clear where you cook, warmer and lower where you eat and gather, and controls that let you switch between those modes without a tour of the room’s switches.
This guide splits kitchen lighting by task. It covers prep light, where brightness and shadow matter most; cooking light, where clarity over the hob and oven matters; dining and gathering light, which should be warmer and lower; and controls for switching between modes, because a lighting plan that is awkward to use will not be used. The goal is a kitchen that is safe to work in and pleasant to gather in, at different times of the same evening.
Prep Light: Bright Where You Chop
Prep light is the most important kitchen light, because chopping, reading a recipe, and handling a knife all require clear, shadow-free brightness. The rule is simple: light should come from in front of you and above the work surface, not from behind you, where your body casts a shadow over exactly the area you are working on. That is why a single ceiling light in the middle of the room so often fails for prep: the cook stands between the light and the counter, and the work surface falls into shadow.
Under-cabinet lighting solves this directly. A strip or small light fixed beneath the wall cabinets shines down onto the work surface from in front of the cook, lighting the board, the knife, and the ingredients without shadows. It is the single most effective prep-lighting change in most kitchens, and it is also one of the cheapest, because battery or plug-in options need no wiring. If under-cabinet lighting is not possible, a light positioned over the prep area — a pendant, a track light, or a wall light aimed at the counter — is the next best option, provided it lights the surface rather than the cook’s back.
Brightness and colour matter for prep. The light should be bright enough to see clearly — to distinguish ingredients, read small print, and see the edge of a knife — without being so harsh that it glares off a worktop. A neutral or slightly cool white suits prep, because it renders colours accurately: it is easier to tell whether meat is cooked, whether a vegetable is fresh, or whether a sauce has the right colour under neutral light than under a very warm, yellow light that distorts colours.
Prep light should also be switchable independently from the rest of the kitchen’s lights. A cook who only needs the prep area lit should not have to light the whole kitchen to get it, and a cook working early in the morning or late at night should be able to light just the work surface without waking the household with a blaze of light. Independent switching is what turns a bright prep light from a luxury into a daily tool.
Cooking Light: Clear and Shadow-Free
Cooking light has a different job from prep light: it must light the hob and the oven clearly, without shadows, glare, or heat problems. The hob is the most demanding spot, because pans, steam, and the cook’s own body all create shadows, and because the cook needs to see colour and texture — whether something is browning, simmering, or catching — at a glance. A light over the hob, usually built into the extractor hood, is the standard solution, and it works because it shines directly down onto the pans from above and slightly in front.
Check that the hob light actually works and is bright enough, because it is one of the most neglected lights in a kitchen. A hood light with a dead bulb, a greasy cover, or a dim bulb that has never been replaced leaves the hob in shadow, however good the rest of the kitchen’s lighting is. Cleaning the cover and replacing the bulb are small jobs with an outsized effect on cooking safety and ease, and they should be part of the kitchen’s regular maintenance rather than an afterthought.
Oven light deserves the same attention. An oven with a working interior light lets you check food without opening the door and losing heat, which is both more convenient and better for cooking. If the oven light has failed, replacing it is usually a simple job, and it is worth doing promptly rather than living with a dark oven for months. The same principle applies to any appliance light — a fridge light, a microwave light — that makes a task easier and safer when it works.
Dining and Gathering Light: Warmer and Lower
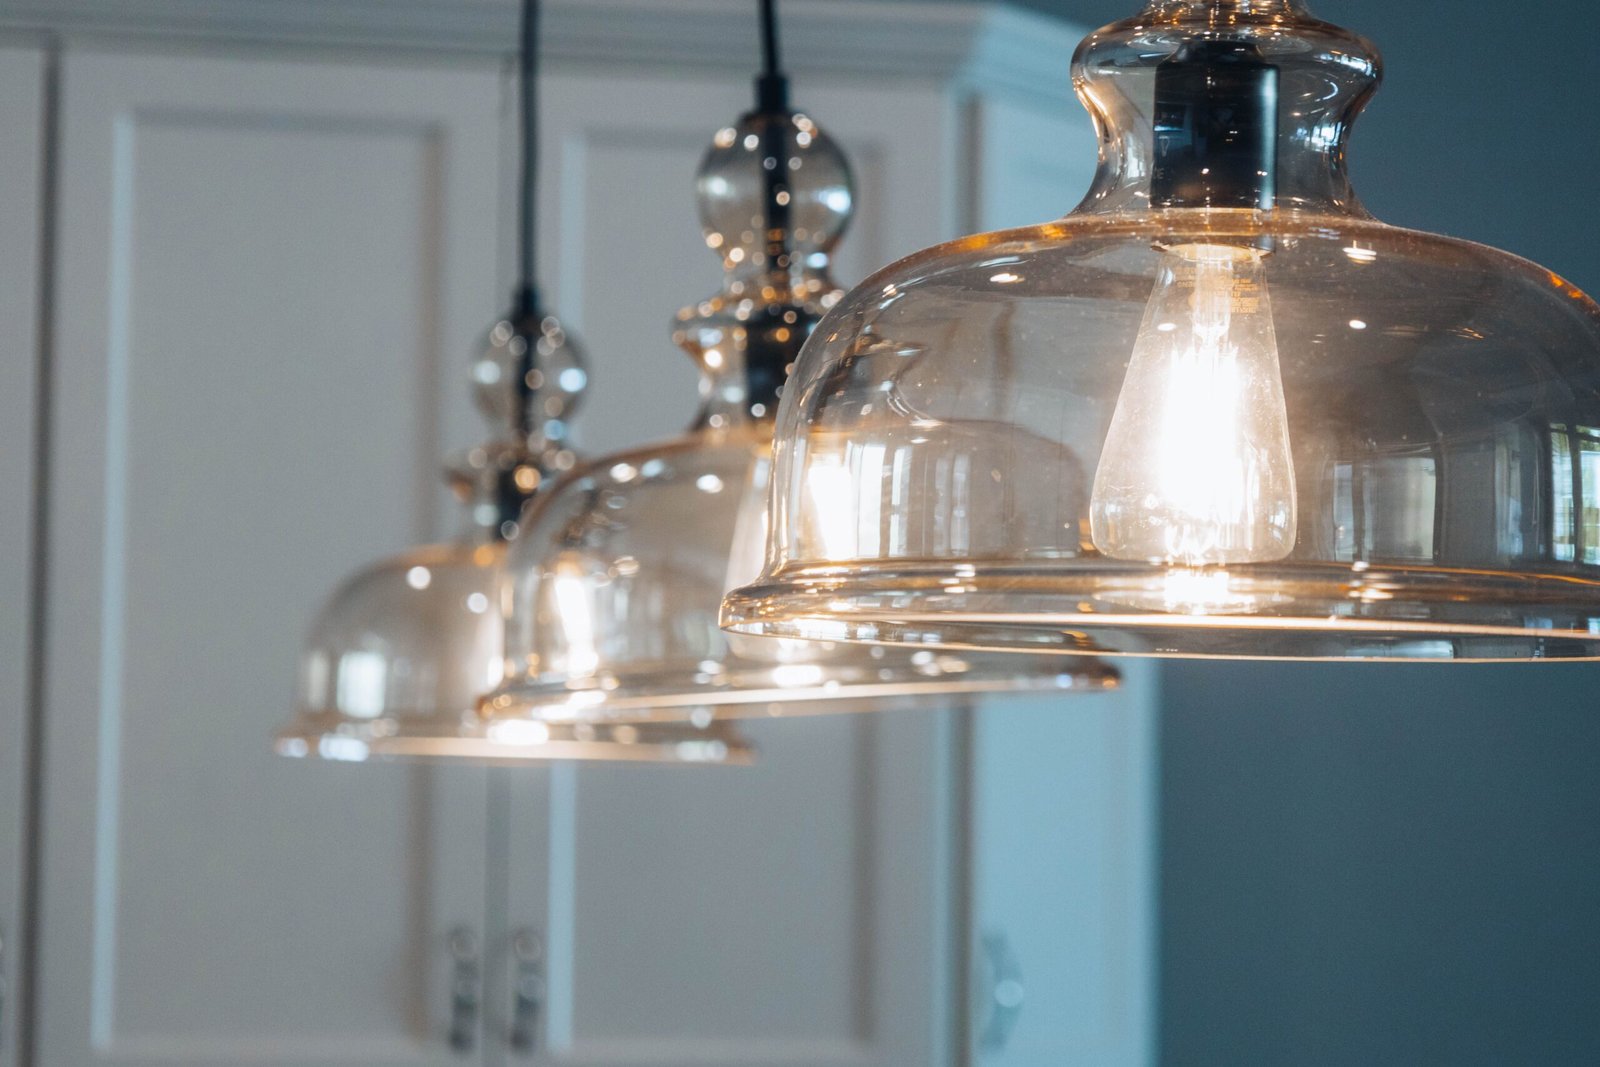
Dining and gathering light should do the opposite of prep and cooking light: it should be warmer, lower, and softer, because its job is atmosphere rather than accuracy. A kitchen table lit by a bright, overhead light feels like a workstation; the same table lit by a pendant hung low over it, with warm-toned bulbs, feels like a place to eat and talk. The difference is not brightness alone; it is warmth, height, and focus.
Pendant lights over a table or an island are the classic dining light, and they work best when hung low enough to create a pool of light over the table without shining into diners’ eyes. The height matters: too high, and the light spreads thinly and feels like general lighting; too low, and it blocks sightlines across the table and becomes an obstacle. A pendant with a dimmer is ideal, because it can be brightened for a family meal that needs to see the food clearly and dimmed for a quieter evening gathering.
Warmth is the key quality for dining light. Warm-toned bulbs — warm white rather than cool white — flatter food and faces, and they make a kitchen feel inviting in the evening in a way cool light does not. If the kitchen’s prep and cooking lights are neutral or cool for accuracy, the dining lights should still be warm, because they serve a different purpose at a different time. Having both colour temperatures in one kitchen is not a contradiction; it is task-based lighting working as it should.
Gathering light extends beyond the table. A kitchen where people gather while food is cooking needs a light that lets people see each other’s faces and move around safely, without lighting the whole room brightly. A dimmed overhead light, a pair of wall lights, or a lamp on a side surface can provide that background glow, so the kitchen feels welcoming to guests while the cook still has bright task light at the hob and prep area. The two kinds of light coexist because they are switched separately, which brings us to controls.
Controls for Switching Between Modes
Controls are what make a layered lighting plan usable. A kitchen with four kinds of light, each with its own switch in a different place, will end up with only one or two lights used, because switching between modes becomes a chore. The goal is simple controls, in sensible places, that let the cook switch the kitchen from cooking mode to dining mode to gathering mode with minimal effort.
Dimmers are the most useful control in a kitchen, because they let a single light serve multiple modes: bright for prep, dimmed for dining, low for gathering. A dimmer on the main kitchen light, and on any pendant over a table or island, gives the room flexibility that a simple on-off switch cannot. If dimmers are not possible, separate switches for each lighting layer — prep, cooking, dining, background — achieve much of the same flexibility, provided the switches are grouped together where they can be reached easily.
Switch placement matters as much as switch type. A switch beside the kitchen door is useful when entering, but a switch beside the prep area or the table is useful when already working or sitting down. A kitchen with switches in both places — or with a remote control for the main layers — will be lit well far more often than a kitchen where adjusting the light requires walking across the room. The best control is the one you will actually use, in the place where you actually are.
Finally, keep the controls simple enough for everyone in the household to use. A lighting system that only one person understands will not be used properly by anyone else, and the kitchen will default to a single mode — usually all lights on, bright and harsh — regardless of the plan. Label switches if needed, keep the number of modes small, and make the default mode the one that suits the kitchen’s most common use. A lighting plan that is simple, labelled, and in reach is a plan that gets used, and a plan that gets used is what makes a kitchen feel right at every time of day. Layering in general — ambient, task, and accent light working together rather than a single source doing everything — is explained in How to Layer Lighting to Make Any Room Feel Cosy, and it applies to kitchens as much as to any other room. How living-room lighting balances daytime and evening use, a similar task-based problem, is covered in Living Room Lighting Ideas for Daytime and Evening Use. And because lighting and layout are planned together, the cooking-flow layout that this lighting serves is detailed in How to Plan a Kitchen Layout That Makes Cooking Easier.
FAQ: Kitchen Lighting
What is the most important kitchen light?
Under-cabinet light over the prep area, because it lights the work surface without shadows from the cook’s body. It is also one of the cheapest and easiest lighting changes, and it transforms how safe and easy prep feels.
Should kitchen lights be warm or cool white?
Both, for different tasks: neutral or slightly cool white for prep and cooking, where accurate colour matters, and warm white for dining and gathering, where atmosphere matters. Having both colour temperatures, switched separately, is task-based lighting working as it should.
How do I reduce glare in the kitchen?
Position lights so they light the work, not the cook’s eyes, shade lights that shine directly into faces, and choose worktops with a matt or satin finish rather than a highly polished one. Adjusting a light’s position or shade is usually more effective than adding more lights.
Do I need dimmers in a kitchen?
They are the most useful control available, because they let one light serve cooking, dining, and gathering modes. If dimmers are not possible, separate switches for each lighting layer, grouped where they can be reached easily, achieve much of the same flexibility.
Conclusion
Kitchen lighting works when it is split by task: bright, shadow-free light where you chop, clear light over the hob and oven, warmer and lower light where you eat and gather, and simple controls that let you switch between those modes without a tour of the room’s switches. Plan lighting alongside layout, keep prep and cooking lights accurate and dining lights warm, and make the controls simple enough that everyone in the household can use them. A kitchen lit this way is safe to work in and pleasant to gather in, at different times of the same evening, which is exactly what a kitchen should be.