
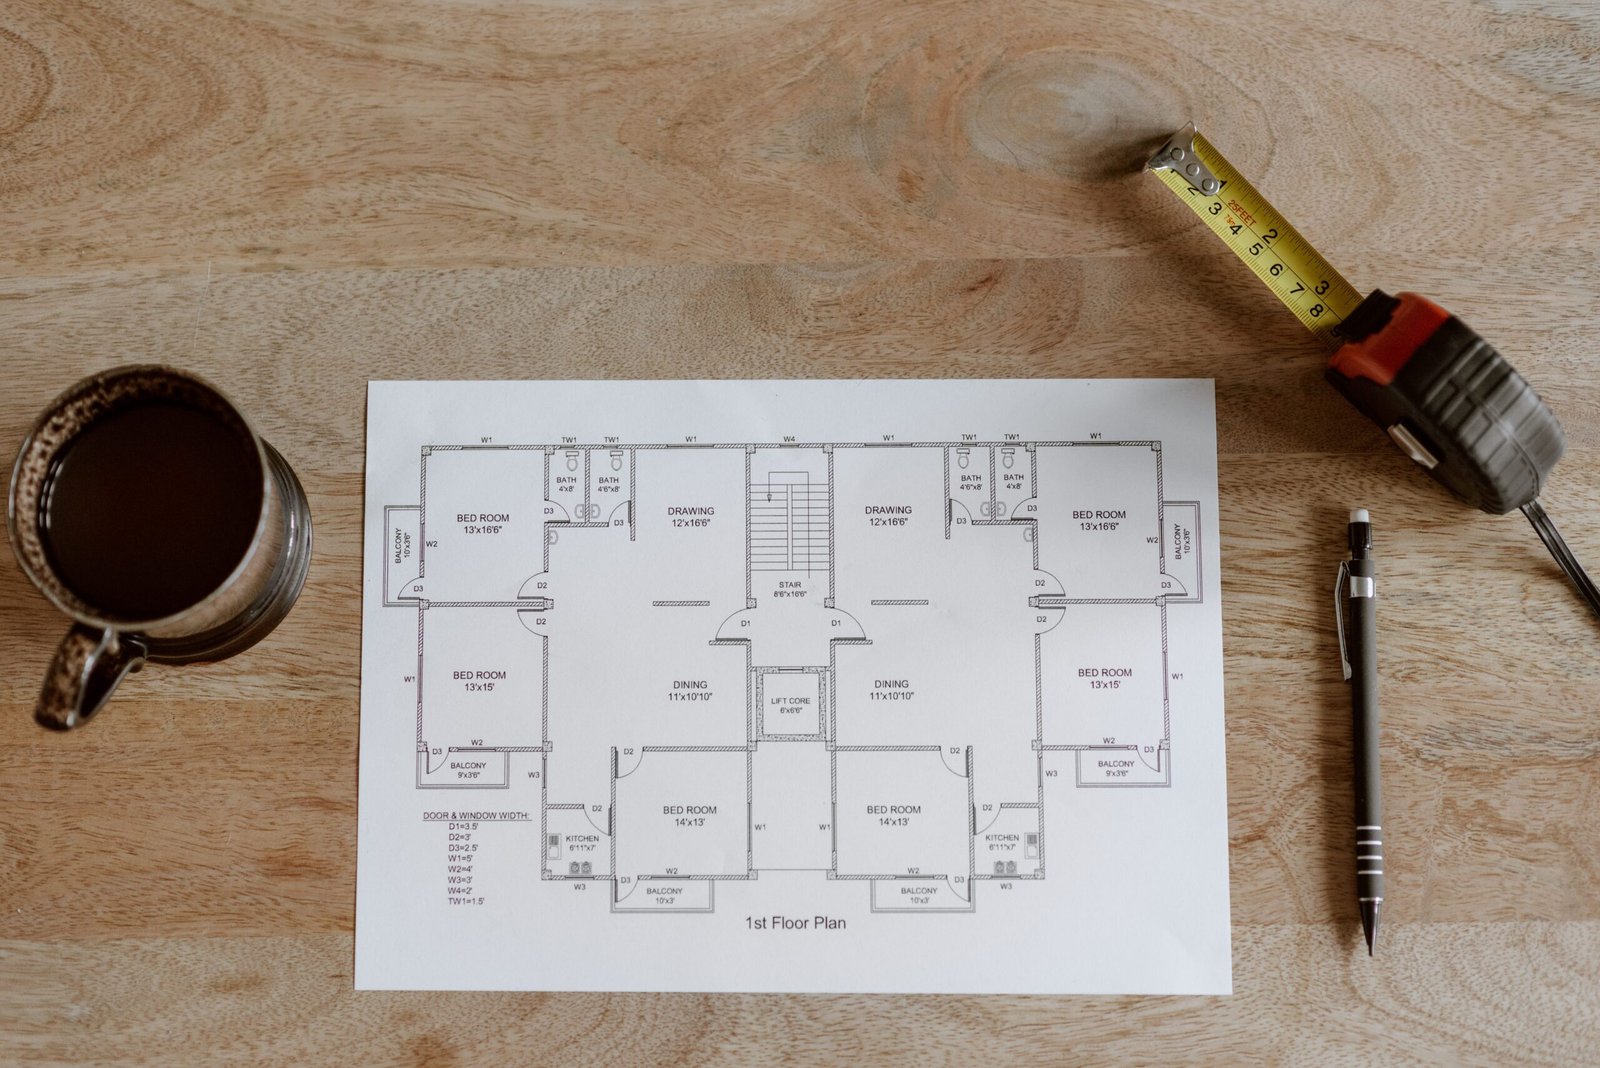
Most expensive furniture mistakes are not about taste. They are about size, position, and movement — a sofa that blocks a doorway, a dining table that leaves no room to pull out a chair, a bed that fits against the wall but leaves nowhere to walk around it. By the time the delivery team has left, the mistake is already in your home, and returning or replacing a large piece is costly, time-consuming, and often disappointing.
Planning a room layout before you buy anything is the simplest way to avoid that. It does not require design training, expensive software, or a perfect sense of proportion. It requires a tape measure, a pencil, a little patience, and a willingness to test an idea on paper and on the floor before you commit money to it. An hour or two of planning can save weeks of living around a piece that was never quite right.
Measure Walls, Doors and Walkways First
Good layout planning starts with accurate measurements, not with shopping. Guessing a wall length, or relying on a measurement from an estate agent listing, is one of the most common causes of furniture that does not fit. Rooms are also rarely perfectly square, so measuring each wall separately matters, especially in older homes where walls may slope or bow slightly.
Next, measure everything that cannot move, or that you would prefer not to move. That includes doorways and their swing, windows and their height from the floor, radiators, fireplaces, built-in cupboards, and any awkward features such as chimney breasts, alcoves, sloping ceilings, or boxed-in pipes. For each door, note which way it opens and how much floor space the swing takes up. A door that opens into a room can quietly claim a surprisingly large area that no furniture can occupy.
A simple measuring checklist
- Length, width, and height of the room, with each wall measured separately.
- Width and height of every doorway, plus the direction and arc of each door swing.
- Position, width, and sill height of every window, and any radiators beneath them.
- Position and size of fireplaces, chimney breasts, alcoves, and built-in storage.
- Position of plug sockets, light switches, TV aerial points, and any fixed lighting.
- Width of the routes you use every day, measured as clear, usable space — not wall to wall.
Write the measurements down in one place, and keep them with you when you shop, whether that is on paper, on your phone, or in a notebook. It is far easier to check a sofa’s dimensions against a list you already trust than to guess in a shop, and it stops a persuasive display or a sale price from overriding what your room can actually hold. For a refresher on the design principles behind a good layout, Interior Design Basics: Proportion, Balance and Flow explains how scale and movement work together in a room.
Sketch Two or Three Layouts
Once you have measurements, the next step is to sketch layouts — and to sketch more than one. The first layout that comes to mind is often the most obvious one: sofa against the longest wall, bed against the far wall, table in the centre. It may be the right answer, but it is not always, and the only way to know is to compare it with alternatives.
Graph paper helps: draw the room outline to scale, then draw furniture as simple labelled rectangles, or cut out paper shapes you can move around.
When you sketch, think about what the room is for, not just what fits in it. A living room used mainly for conversation needs seating that faces inward, with enough space for people to sit comfortably and talk. A living room centred on television viewing needs seating at a sensible distance from the screen, without glare from windows. A bedroom needs clear access to both sides of the bed if possible, and enough space to open wardrobe doors and drawers fully. A dining area needs room to pull chairs out and walk behind seated diners. A layout that fits everything in but makes the room hard to use has not really succeeded.
Try at least one layout that breaks your first assumption. What happens if the sofa goes on the shorter wall, or floats away from the wall with a console behind it? What if the bed moves to the wall you had ruled out, or the dining table turns ninety degrees? Awkward rooms in particular benefit from this: a long, narrow living room, for example, often works better when it is zoned into two areas rather than arranged as a single long line of furniture. Living Room Layout Ideas for Awkward Long Rooms offers practical approaches for exactly that shape.
Small spaces reward the same process, sometimes even more. In a compact room, every centimetre counts, and a sketch will quickly show whether a larger sofa, a dining table, or a desk can genuinely fit alongside storage and walkways. Small Living Space Design and Layouts explores how zoning, multi-purpose furniture, and careful scale can make a small room work harder without feeling cramped.
Test Scale With Tape on the Floor
A plan on paper can still mislead you. Furniture that looks reasonable as a rectangle on a page can feel enormous, or surprisingly small, once it occupies real floor space. That is why testing scale with tape on the floor is the most valuable step in this whole process — and the one most often skipped.
The method is simple. Using masking tape, painter’s tape, or even sheets of newspaper, mark out the footprint of each major piece of furniture on the floor, in its planned position. Include the full footprint, not just the seat: a sofa’s arms, a dining table’s legs, a wardrobe’s doors when open. Then live with the taped outlines for a day or two if you can. Walk the routes you would walk, sit where you would sit, and open the doors and drawers you would open.
How to run a tape test well
- Mark out the largest pieces first — bed, sofa, dining table, wardrobe — as these set the room’s structure.
- Mark door swings and drawer or wardrobe door openings, so you can see the space they need in use, not just when closed.
- Walk every route in the room as you would normally, including carrying something, and note anywhere you have to sidestep or squeeze.
- Sit or stand where seating will go, and check your view: towards a window, a fireplace, a television, or into the room, depending on the room’s purpose.
- Leave the tape down overnight if possible, and walk the room again in the morning with fresh eyes before deciding.
Common furniture layout mistakes usually become obvious at this stage. Buying a sofa that is too large for the wall, choosing a dining table that leaves no room to move behind chairs, placing a bed so that one side is blocked, or filling a room so full that there is nowhere to walk comfortably are all mistakes that a tape test exposes while they are still free to fix.
Check Light, Sockets and Doors Before You Commit
A layout can look perfect on paper and pass the tape test, yet still fail in daily use because of light, sockets, or doors. Checking these three practical details before you buy is what separates a plan that looks good from a room that works.
Start with light. Note where natural light comes from at different times of day, and how it falls across the room. A reading chair placed with its back to a window may leave you in shadow. A television placed opposite a large window may suffer from glare for much of the day. A desk facing a window can be pleasant, but may also mean squinting in bright sun. Bedrooms deserve particular attention: a bed placed directly under a window may be draughty or bright in the early morning, while a bed on the opposite wall may catch morning light more gently. If you can, visit the room at the times you will use it most, rather than judging light from a single visit.
Sockets are the detail most often forgotten until a piece is already in place. Count them, note where they are, and match them to what each area needs: a television and its devices, a desk with a computer and chargers, bedside lamps and phone chargers, a kitchen worktop with small appliances. A layout that puts a desk against a wall with no sockets, or a bedside table far from the only socket, will lead to trailing cables or extension leads across walkways — both unsightly and a trip hazard. If sockets are scarce, that may argue for a different layout, or for having an electrician add a socket before you furnish, rather than after.
Finally, re-check doors — not just their swing, but how the room is entered and used. A layout that forces you to walk around a large piece immediately inside the door will feel awkward every time you enter. A wardrobe or cupboard door that cannot open fully because a bed or chair is in the way will frustrate you daily. A door to a garden, balcony, or en-suite needs a clear route to it, not a route blocked by furniture that seemed fine on the plan. Walk the room as a visitor would, as well as an occupant, and make sure the entrance feels open and the routes feel natural.
Professional bodies such as the American Society of Interior Designers publish general guidance on interior design practice and standards, which can be a useful reference if you want to explore layout and space planning in more depth before a larger project.
FAQ: Planning a Room Layout
Do I really need to measure, or can I estimate furniture sizes?
Estimating is where most layout mistakes begin. A sofa that is ten centimetres wider than you guessed can be the difference between a comfortable walkway and a daily squeeze. When you measure a room for furniture, checking the exact dimensions of any piece you are considering takes a few minutes and prevents the most common and expensive errors.
What is the biggest furniture layout mistake people make?
Buying the largest piece first, usually a sofa or a bed, without checking how it affects walkways, door swings, and the rest of the room. A piece that dominates its wall often leaves too little room for everything else. Planning the whole layout first, even roughly, and choosing the largest piece to fit that plan, works far better than fitting a plan around a piece that is already bought.
Should all furniture be pushed against the walls?
Not necessarily. Pushing everything to the walls can leave an empty, underused middle and make a room feel like a waiting area. Floating a sofa, a rug, or a desk slightly away from the wall can define zones within a room and make it feel more intentional. The test is whether walkways remain comfortable and the room still feels easy to move through.
Conclusion
These room layout planning tips are not about restricting your choices. It is about making sure the choices you make actually work in the room you have. Measure carefully, sketch more than one option, test scale with tape on the floor, and check light, sockets, and doors before you commit. Each step is simple on its own, and together they catch the mistakes that are expensive to fix after delivery.
The reward is a room that feels considered rather than assembled — where furniture fits, routes feel natural, and the pieces you chose have room to look their best. A little planning time now is the cheapest and most reliable way to get a room you will enjoy living in, rather than one you are constantly working around.
3 thoughts on “How to Plan a Room Layout Before You Buy Anything”