A kitchen that looks good but cooks badly is a familiar disappointment. The cabinets are new, the worktop is beautiful, and yet every meal involves crossing the room three times, opening a drawer that hits the bin, and working in a corner where there is no light and no space to put a board down. The problem is not taste. It is layout: the kitchen was planned as a room to look at, not as a room to cook in, and no amount of beautiful materials can fix a layout that fights the cook.
This guide plans a kitchen around cooking. It covers the cooking flow — store, prep, cook, clean — and how to arrange zones in that order; the layout shapes and when each works; walkways, doors and appliance clearance, the unglamorous details that make a layout succeed or fail; and how to test a layout before committing to it. The goal is a kitchen where cooking feels easy because the room is arranged in the order cooking happens.
The Cooking Flow: Store, Prep, Cook, Clean
Cooking has a natural order, and a kitchen layout should follow it. Store: ingredients come out of the fridge, the pantry, and the cabinets. Prep: they are washed, chopped, and assembled on a work surface. Cook: they go onto the hob or into the oven. Clean: pans, boards, and utensils go to the sink and the dishwasher. A kitchen arranged in that order — storage near the entrance or fridge, prep next, cooking next, cleaning last — means each step flows into the next without backtracking.
The classic version of this idea is the work triangle, which connects the fridge, the hob, and the sink in a triangle. It is a useful starting point, but it is not a rule, and in a modern kitchen it can be misleading. A kitchen with an island, a separate prep sink, or a large family cooking together does not fit a single triangle, and forcing one can create a layout that looks correct on paper and feels awkward in use. Think in zones rather than a triangle: a storage zone, a prep zone, a cooking zone, and a cleaning zone, arranged in cooking order along the kitchen’s available walls and island.
Each zone needs its own tools, stored within it. The prep zone needs boards, knives, and mixing bowls, plus a bin within reach for peelings. The cooking zone needs pans, oils, spices, and utensils, plus a heat-resistant surface for hot pans. The cleaning zone needs the sink, the dishwasher, and drying space, plus cleaning supplies stored nearby rather than across the room. When a zone lacks its tools, the cook crosses the kitchen mid-task, and the flow breaks. Zoning tools with tasks is the same discipline that makes cabinets usable, applied at room scale.
Layout Shapes and When Each Works
Kitchen layouts come in a handful of shapes, and each suits a different room. A galley kitchen — two parallel runs with a walkway between — suits a narrow room and a single cook, because everything is within a step or two and the flow is linear: store at one end, prep in the middle, cook and clean at the other. Its weakness is passing: two people in a galley must squeeze past each other, and a galley with a door at each end becomes a corridor that everyone walks through mid-cooking.
An L-shaped kitchen — two runs meeting at a corner — suits a square or open-plan room, because it leaves one side open for dining or for an island, and it gives a natural corner for the prep zone. Its weakness is the corner itself, which can become dead space unless it is used well with a turntable, a pull-out, or a sink placed in the corner. An L-shape also needs care with the open side: if the open side faces a dining table, the cooking zone should not spill into the dining area, or the kitchen will feel like it has no boundary.
A U-shaped kitchen — three runs forming a U — suits a larger room and a dedicated cook, because it provides the most work surface and storage of any shape, and it keeps everything within reach. Its weakness is that it can feel enclosed, especially if all three runs have wall cabinets, and it needs a wide enough opening for the cook to move comfortably. A U-shape with an island in the middle, or with one run left open, avoids that enclosed feeling while keeping the work surface.
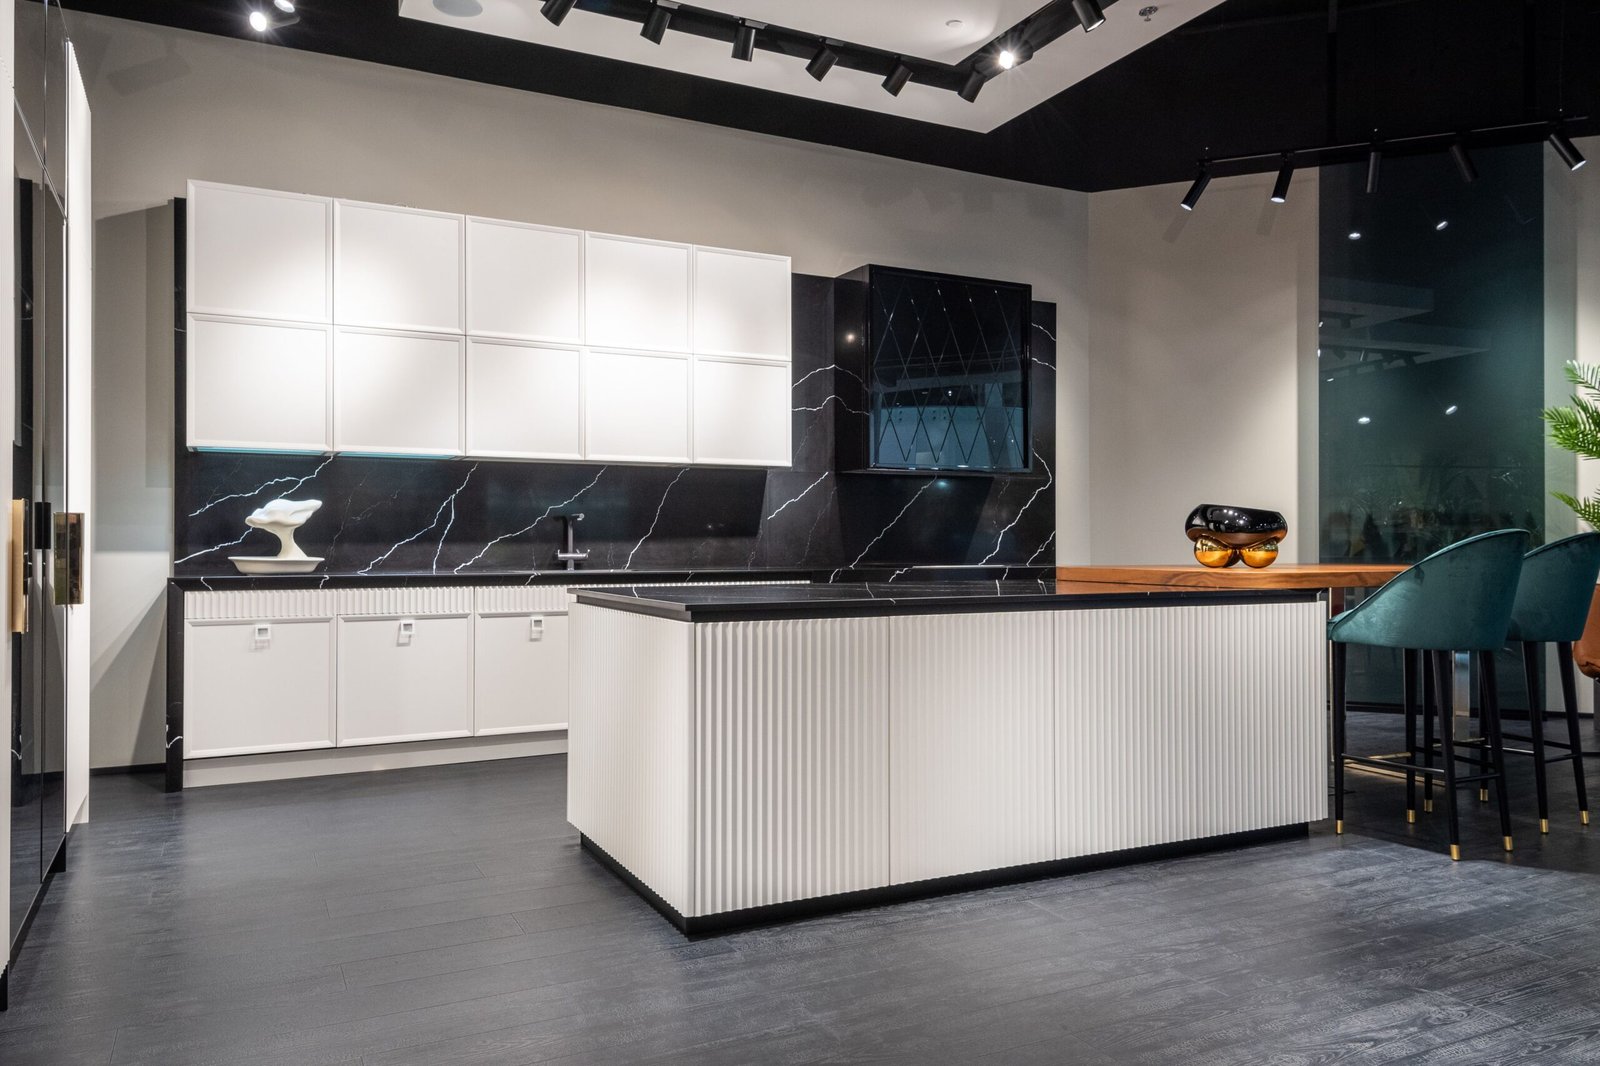
An island kitchen — any of the above plus a freestanding island — suits a large, open room where the island can serve as prep space, a serving station, or a social hub. Its strength is flexibility: the island can be prep, dining, or both, depending on the household. Its weakness is space: an island needs clearance on all sides, and an island squeezed into a room that is too small becomes an obstacle rather than a help. The test is clearance, covered below, not the desire for an island. For gaining workspace in a smaller kitchen without changing its shape, see Small Kitchen Ideas That Add Workspace Without a Renovation.
Walkways, Doors and Appliance Clearance
Walkways are the detail that separates a layout that works from one that only looks as though it works. A main walkway — the path the cook uses constantly — should be wide enough to move comfortably, carry a hot pan, and pass another person without turning sideways. A walkway that is only wide enough to squeeze through will be felt every day, and it will make the kitchen feel smaller than it is, however large the room measures on paper.
Doors and drawers need clearance too, and they need it simultaneously. A dishwasher door that opens into a walkway, a fridge door that hits an island, an oven door that blocks the path to the sink — each of these is a daily frustration that a layout drawing often misses, because drawings show doors closed. Before finalising a layout, check every opening with the room in use: every door, every drawer, every appliance door, opened at the same time as the walkways they affect. A layout that only works with one thing open at a time is not a working layout.
Appliance clearance has its own rules. An oven needs a heat-resistant landing surface beside it, where a hot dish can be put down immediately. A fridge needs space for its door to open fully and for the cook to stand in front of it with a shopping bag. A dishwasher needs clearance for its door and for loading, without blocking the sink. A hob needs a clear surface beside it for pans, lids, and utensils, and it should not be placed directly beside a tall unit or a door that creates a draught or a collision. These are small clearances, but they are the ones that determine whether cooking feels smooth or constantly interrupted.
Planning a room’s layout before buying anything is a discipline that applies well beyond the kitchen, and the general version — measuring, sketching, and testing a layout in the room itself — is covered in How to Plan a Room Layout Before You Buy Anything. The kitchen version adds appliance clearance and cooking flow to that general discipline, but the principle is identical: measure first, test in the room, and only then commit.
Test the Layout Before You Commit
The most valuable step in planning a kitchen layout is also the cheapest: test it in the room before anything is ordered. Tape the outline of cabinets, appliances, and an island on the floor, using masking tape or cardboard, and walk through a meal in the taped layout. Stand at the taped fridge, walk to the taped prep area, move to the taped hob, carry a pan to the taped sink. The exercise feels silly for about a minute, and then it reveals problems no drawing shows: a walkway that is too narrow when you carry something, a corner that forces an awkward turn, a prep area that is too far from the hob.
Cook a real meal in the taped layout, if possible, or at least mime one with the actual pans and boards you use. A layout that works for a simple meal — a pan, a board, a plate — may fail for a larger one, where several pans, a tray, and a serving dish all need landing space at once. Testing with a real, complex meal, even mimed, is the only way to know whether the layout handles the kitchen’s busiest moments, not just its quiet ones.
Finally, live with the taped layout for a few days if you can. Walk through it on the way to the kettle, to the fridge, to the back door, and notice where it helps and where it hinders. A layout that survives a few days of real use, with its problems noted and fixed by moving tape rather than moving cabinets, is a layout worth building. A layout that was never tested in the room is a gamble, and a kitchen is too expensive a room to gamble on. Organising the cabinets within that layout, so tools are within reach in each zone, is the next step, covered in How to Organize Kitchen Cabinets So Everything Is Easy to Reach.
FAQ: Planning a Kitchen Layout
What is the best kitchen layout shape?
There is no single best shape; it depends on the room. A galley suits a narrow room and a single cook, an L-shape suits a square or open-plan room, a U-shape suits a larger dedicated kitchen, and an island suits a large room with clearance on all sides. The best shape for your kitchen is the one that fits your room, your cooking flow, and your household’s habits.
How wide should kitchen walkways be?
Wide enough to move comfortably while carrying a hot pan and to pass another person without turning sideways. A walkway that only allows squeezing through sideways will be felt every day, and it is a sign that the layout needs more space or a different shape, not that the cook should adapt to it.
Should the sink, hob and fridge form a triangle?
As a starting point, yes, but think in zones rather than a strict triangle. A modern kitchen with an island, a second sink, or multiple cooks does not fit a single triangle, and forcing one can create an awkward layout. Zones in cooking order — store, prep, cook, clean — are a more flexible and more honest way to plan.
How do I test a kitchen layout before building it?
Tape the layout on the floor and walk through a meal in it, with real pans and boards, checking walkways, door clearance, and light at different times of day. Living with the taped layout for a few days reveals problems that no drawing shows, and moving tape is free while moving cabinets is not.
Conclusion
Planning a kitchen layout that makes cooking easier comes down to following the cooking flow — store, prep, cook, clean — choosing a shape that fits the room and the household, checking walkways, doors and appliance clearance with everything open at once, and testing the layout on the floor before committing to it. A kitchen planned this way does not just look good. It cooks well, because the room is arranged in the order cooking happens, and that order is felt in every meal, long after the novelty of new cabinets has faded.
1 thought on “How to Plan a Kitchen Layout That Makes Cooking Easier”