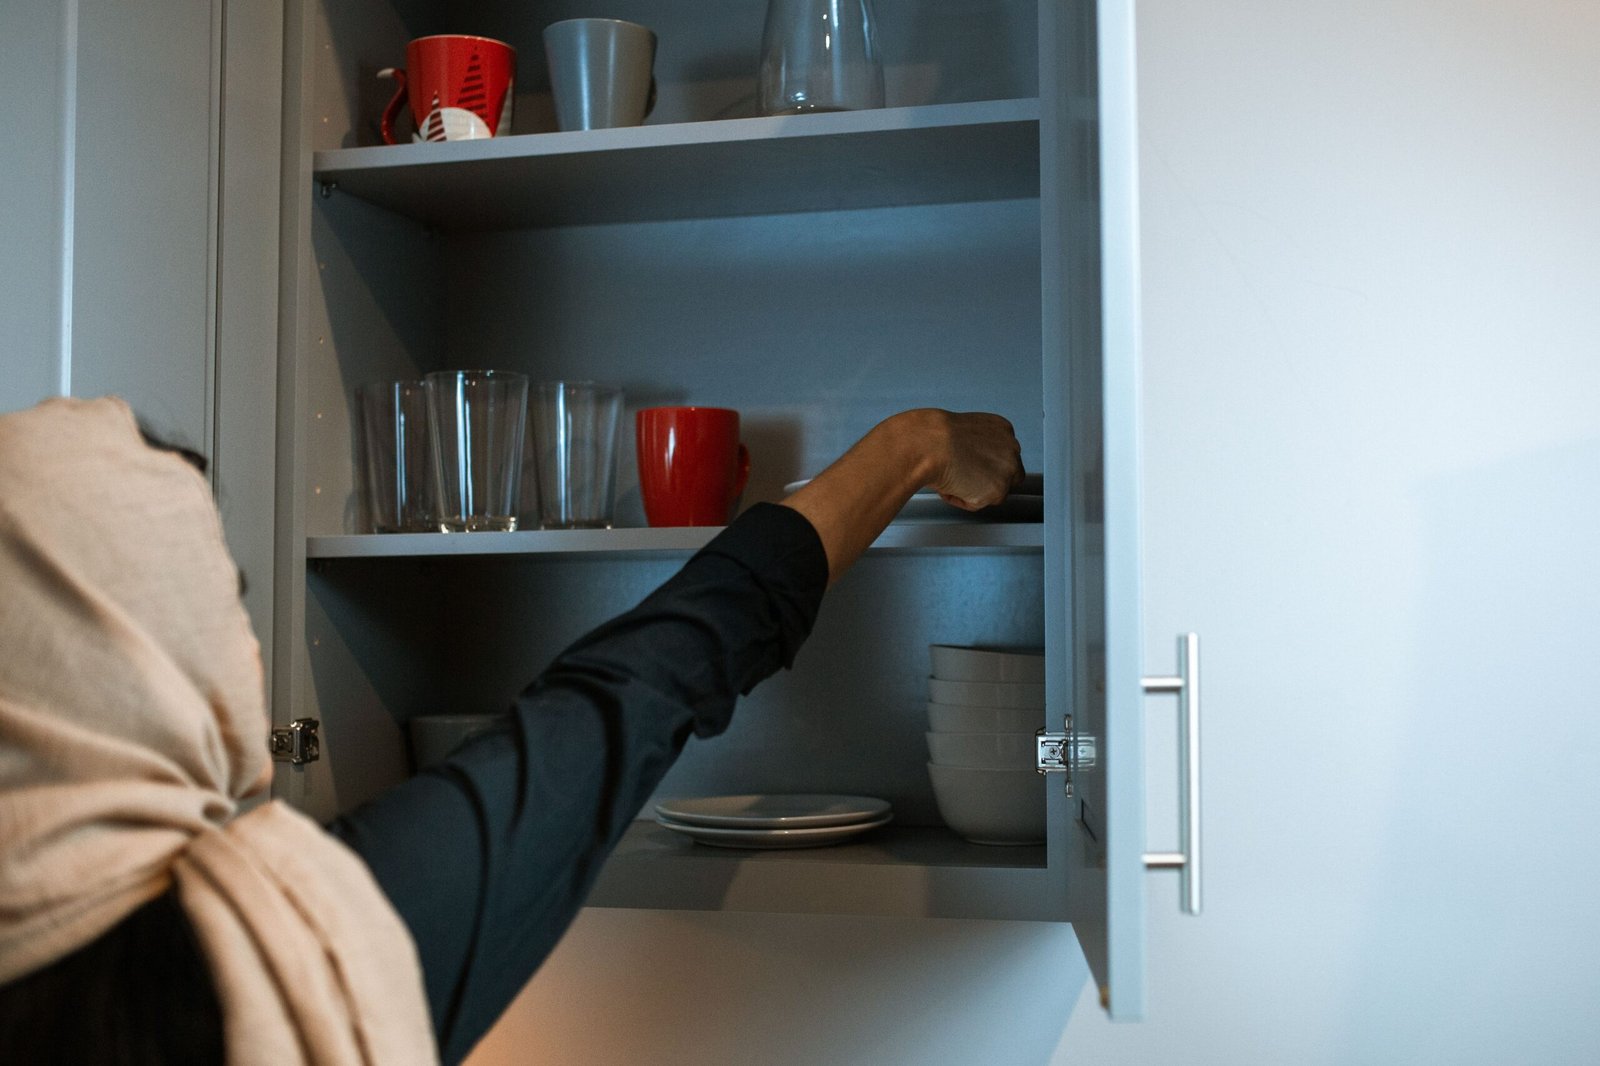
Most kitchen cabinets fail in the same quiet way: the thing you need is at the back, behind three things you do not need, and getting it out means moving everything else first. Over time, that friction changes how you cook. You stop using the pan at the back, you buy duplicates of things you already own because you cannot find them, and the cabinets slowly fill with items that are never touched. The problem is rarely the size of the cabinets. It is that they were never organised around how often things are actually used.
This guide organises cabinets by use, not by category alone. It covers sorting by frequency — daily, weekly, occasional — zoning cabinets around cooking tasks, the risers, baskets and turntables that make deep cabinets usable, and the simple reset that keeps the system working. The goal is a kitchen where everything you reach for is within reach, and everything else is stored where it does not get in the way.
Sort by How Often You Use It
The first step is honest sorting. Take everything out of one cabinet at a time — doing the whole kitchen at once creates a mountain that is hard to finish — and divide it into three groups: daily, weekly, and occasional. Daily items are the ones you reach for almost every time you cook: a favourite pan, the oil, the salt, the chopping board, the mugs you actually use. Weekly items are used regularly but not daily: a baking tray, a blender, a stock pot. Occasional items are used a few times a year: a turkey roaster, a fondue set, a special-occasion serving dish.
Daily items earn the prime real estate: eye-level shelves, cabinets nearest the hob or the prep area, the front of any shelf. Weekly items go one step back: a higher or lower shelf, a cabinet a little further from the main work area, the back of a deep shelf behind a daily item that is easy to move. Occasional items go furthest away: the top of a tall cabinet, a cupboard in another room, a box on top of the cabinets. They do not need to be convenient, because they are rarely needed, and keeping them out of prime space is what makes room for the things you use every day.
While sorting, be ruthless about duplicates and dead items. A kitchen accumulates duplicates quietly — three spatulas, two sets of measuring cups, a drawer of gadgets bought for one recipe — and each duplicate takes space from something useful. Keep the best version of each tool and pass on or store the rest. The same applies to items that are damaged, missing parts, or simply never used: they are not storage, they are clutter with a cupboard door in front of it.
Labels help more than people expect, especially in a shared kitchen. A label on a shelf, a basket, or a container tells everyone in the household where things live, which means things get put back in the right place rather than wherever there is a gap. Labels do not need to be fancy — masking tape and a pen work perfectly — and they are the cheapest way to make a system survive beyond the person who created it.
Zone Cabinets Around Cooking Tasks
Once items are sorted by frequency, zone them by task. A kitchen has a handful of tasks — prep, cooking, baking, serving, cleaning — and each task has its own tools. Prep tools (boards, knives, peelers, mixing bowls) belong near the prep area. Cooking tools (pans, oils, spices, utensils) belong near the hob. Baking tools (trays, tins, flour, scales) belong together, ideally in one cabinet or one shelf, so baking does not require opening five cupboards. Serving items (plates, bowls, glasses) belong near the dishwasher or the dining area, so putting away and setting the table are both easy.
Zoning works because it matches how cooking actually flows. You do not cook by category — all the metal things, then all the plastic things — you cook by task, moving from prep to cooking to serving in sequence. A cabinet organised by task means each step of that sequence has its tools in one place, and you are not crossing the kitchen repeatedly for a single meal. It also makes it obvious when a zone is overfull, because the zone has a clear boundary and a clear purpose.
Keep zones small and honest. A zone that tries to hold everything related to cooking will become as disorganised as an unzoned cabinet. A prep zone with boards, knives, and bowls is useful; a prep zone that also holds baking tins, cleaning supplies, and a first-aid kit is not a zone, it is a cupboard. If a zone keeps overflowing, it is usually holding items that belong in another zone or items that should have been sorted out in the first step.
Children’s items and pet items deserve their own zone too, if they share the kitchen. A low cabinet or a basket for children’s plates, cups, and snacks lets children help themselves without reaching into adult zones, and it keeps their things from spreading across the whole kitchen. The same applies to pet food and bowls: one zone, clearly defined, rather than packets scattered wherever there was a gap.
Risers, Baskets and Turntables
Deep cabinets are the hardest to organise, because the back is dark, hard to reach, and easy to forget. Risers, baskets and turntables are the tools that make deep cabinets usable, and each solves a different problem. A riser — a small stepped shelf inside the cabinet — raises the back row so it is visible above the front row, which is ideal for tins, jars, and cans. A basket — a pull-out or lift-out container — groups small items so they can be pulled out as a unit rather than fished for individually. A turntable — a lazy Susan — spins the back of a corner cabinet to the front, which is the only practical way to use a deep corner at all.
Choose the tool that matches the cabinet and its contents. Risers suit shallow items stored in rows: spices, tins, small jars. Baskets suit small, loose items that would otherwise scatter: packets, lids, baking supplies, cleaning products. Turntables suit round or awkward corner cabinets and heavy items that are hard to slide: pots, large jars, bottles. A tool that does not match its contents — a turntable full of small packets that fall off, a basket of heavy pots that is hard to lift — will be abandoned, so match carefully.
Measure before buying any of these. Cabinet interiors vary, and a riser or turntable that is a centimetre too wide is useless. Measure the width, depth, and height of the shelf, check the door opening, and check that the tool can be removed for cleaning. Cheap, adjustable options are often better than expensive fixed ones, because they can be rearranged as the cabinet’s contents change over time.
One caution: organisers should not become another layer of clutter. A cabinet full of baskets, each holding a handful of items, is harder to use than a cabinet with a few clear zones. Start with one or two organisers in the worst cabinet, see whether they genuinely help, and only then extend the system. The goal is fewer, clearer storage decisions, not more containers to manage.
Keep It Organised With a Simple Reset
Even the best cabinet system drifts. Items get put back in the wrong place, new purchases arrive without a home, and a zone slowly fills with things that do not belong there. The answer is not a bigger reorganisation every year. It is a small, regular reset: once a month, or once a season, spend ten minutes on one cabinet — check that items are in their zone, return strays to their homes, and remove anything that has not been used since the last reset and is unlikely to be used before the next one.
A reset works best when it has a trigger. Tie it to something that already happens: the first weekend of the month, the change of season, the day the shopping is unpacked after a big shop. A trigger turns the reset from a chore you must remember into a habit that happens on its own, and a habit is what keeps a system alive. Without a trigger, even the best system will be forgotten within a few months.
New purchases need a rule too. Before a new gadget, set of containers, or appliance enters the kitchen, decide where it will live and what, if anything, it replaces. A kitchen that gains items without losing any will eventually overflow no matter how well it is organised, because cabinets do not grow. The one-in, one-out rule — a new pan means an old pan goes — sounds strict, but in practice it is the only rule that keeps a kitchen’s storage stable over years rather than months.
Finally, keep the system visible. A cabinet that is organised but never opened because its contents are forgotten is not organised, it is hidden. A quick look inside each cabinet during the reset, a label that reminds you what lives where, and a habit of using the whole cabinet rather than only the front shelf all keep the system in mind. The pantry deserves the same treatment — its own zones, by frequency and task — as covered in Pantry Organization Ideas for Small and Busy Kitchens, and open shelving, where it exists, needs the same discipline in a more visible form, as discussed in Open Shelving in the Kitchen: When It Works and When It Doesn’t. How open shelves are styled without becoming clutter is a separate skill, covered in How to Style Open Shelving Without It Looking Messy.
FAQ: Organizing Kitchen Cabinets
Where should daily items go?
At eye level, in the cabinet nearest where they are used, and at the front of the shelf. Daily items earn the easiest reach because they are reached for most often; anything that makes a daily item hard to get will be felt every single day.
What is the best organiser for a deep corner cabinet?
A turntable, because it brings the back of the cabinet to the front. For a corner cabinet, a turntable designed for corners — a kidney or D-shaped one — uses the space better than a round one, and it should be sturdy enough for the weight it will carry.
How often should I reorganise my kitchen cabinets?
A full reorganisation once a year is plenty, with a short reset every month or season. Frequent full reorganisations suggest the system is not working; a good system needs only small, regular maintenance, not constant rebuilding.
Should I keep occasional items in the kitchen at all?
Only if there is genuinely spare space after daily and weekly items are housed. Occasional items used a few times a year can live elsewhere — a utility room, a high cupboard, a labelled box — without any loss, and moving them out frees prime kitchen space for things you use every day.
Conclusion
Organising kitchen cabinets so everything is easy to reach comes down to sorting by how often you use things, zoning by cooking task, using risers, baskets and turntables where deep cabinets need them, and keeping the system alive with a short regular reset. None of it requires new cabinets or a large budget. It requires an honest sort, a clear zone for each task, and the habit of putting things back where they belong. A kitchen organised this way does not just look tidier. It cooks easier, because the thing you need is where you expect it to be, every time.
3 thoughts on “How to Organize Kitchen Cabinets So Everything Is Easy to Reach”