
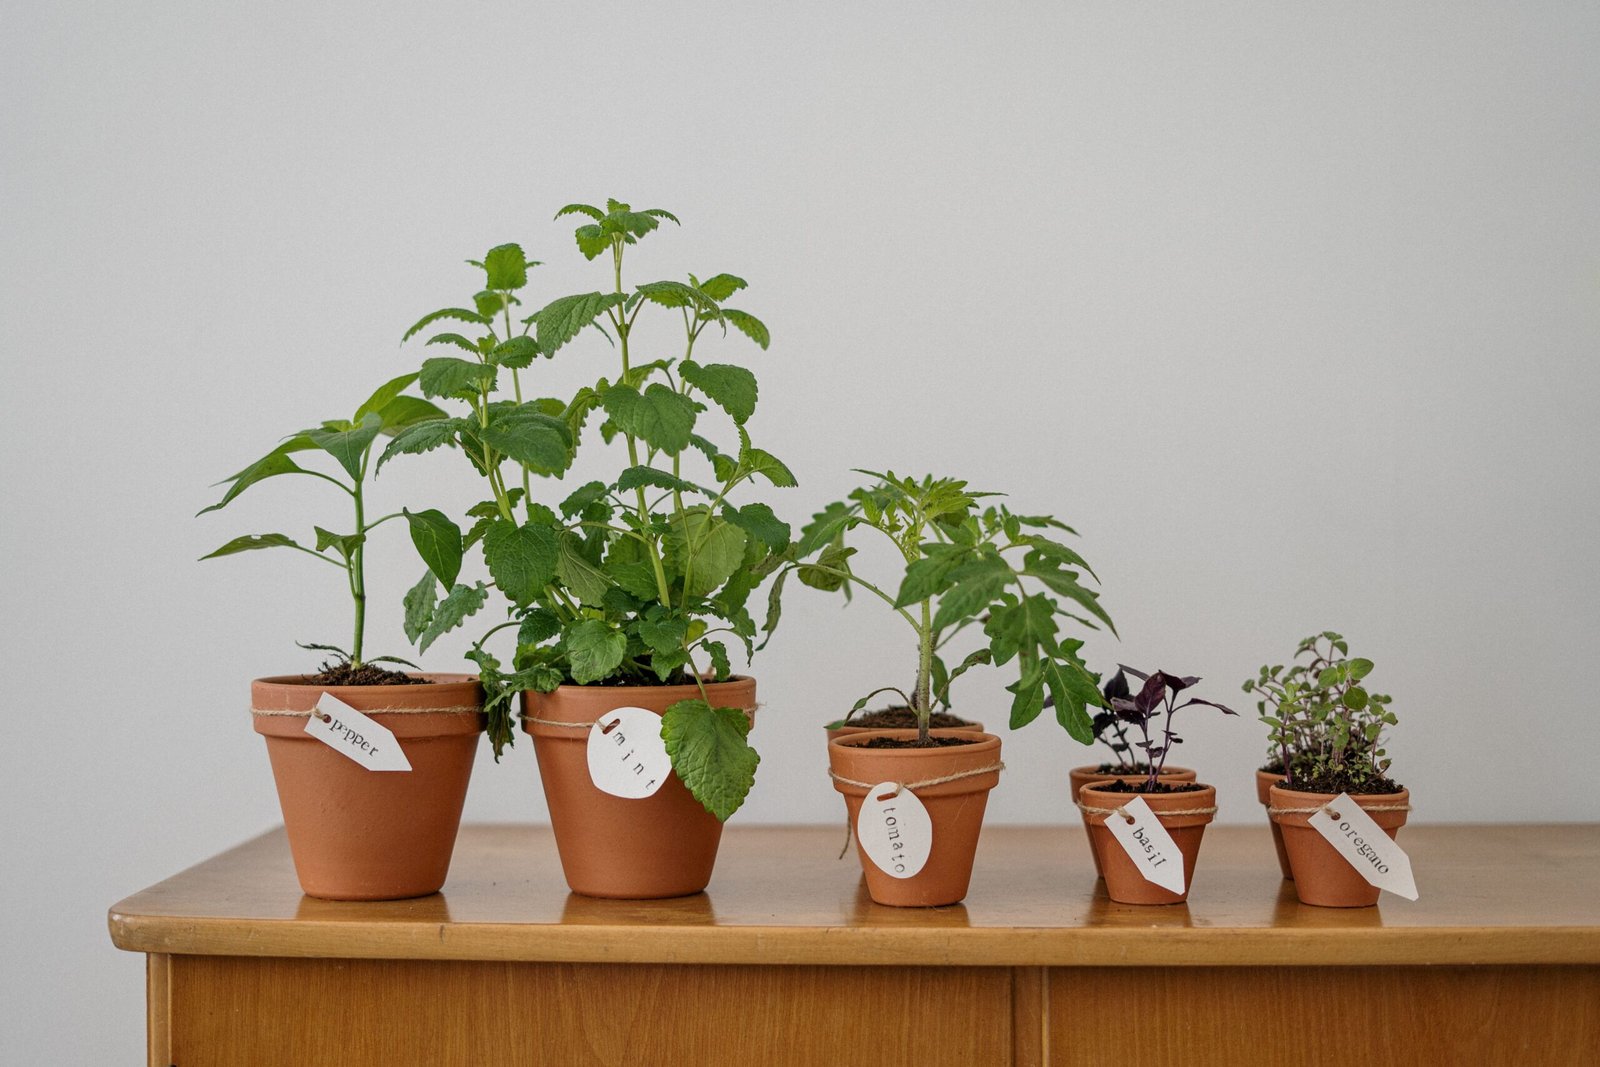
Growing herbs is one of the most forgiving ways into gardening, and one of the most useful. A few pots of herbs by the kitchen door or on a windowsill can supply fresh leaves for cooking all season, cost very little, and teach the basics — light, water, soil, and harvesting — that apply to everything else you might grow. If you have never grown anything before, herbs are the right place to start.
This guide keeps it simple on purpose. It starts with a few forgiving herbs, covers containers, soil, and drainage, explains light and water basics, and finishes with harvesting and kitchen use. No greenhouse, no specialist equipment, and no prior knowledge required.
Start With a Few Forgiving Herbs
The best beginner herbs are the ones that tolerate a missed watering, a less-than-perfect spot, and a beginner’s enthusiasm. Mint, chives, parsley, and rosemary are all good starters: mint is famously vigorous, chives return year after year, parsley is generous once established, and rosemary, in a sunny spot, largely looks after itself. Basil is also popular, but it is more sensitive to cold and overwatering, so treat it as a second-stage herb once you have had a success or two.
Start with three or four herbs you actually cook with. A herb you never use will be neglected, while a herb you reach for every week will be noticed, watered, and harvested — and harvesting is what keeps herbs productive. Buy small plants rather than seed for your first attempt: plants give you a head start, they are easier to judge, and they show you what a healthy herb looks like. Seed is cheaper and satisfying later, but for a first season, plants remove a whole stage of uncertainty.
One warning deserves emphasis: mint should always be grown in its own pot. Planted in the ground or shared with other herbs, mint spreads aggressively through its roots and will take over. In a pot, it is a generous, hardy herb; out of one, it is a weed. The same caution, to a lesser degree, applies to other vigorous spreaders, so keep each herb in its own container until you know how it behaves.
Containers, Soil and Drainage
Herbs grow well in pots, which is part of their appeal: a pot can be moved to the sunniest spot, brought inside in a cold snap, and kept by the kitchen door where it will actually be used. Choose pots with drainage holes — herbs dislike sitting in water more than almost anything — and use a good-quality multipurpose compost. Terracotta pots look good and breathe well, which helps prevent overwatering, but they dry out faster; plastic pots hold moisture longer but need more careful watering. Either works, provided drainage is good.
Drainage is not a detail; it is the difference between healthy herbs and rotted roots. Put a layer of crocks or gravel at the base of the pot, set the pot on feet or a saucer that allows excess water to drain away, and empty saucers after watering so pots are not left standing in water. Herbs in waterlogged compost quickly develop yellow leaves and soft stems, and recovery is slow. If a pot has no drainage hole, do not use it for herbs unless you are prepared to water with extreme care — and even then, a pot with holes is a better choice.
- One herb per pot, at least to start, so each plant gets the water and space it needs.
- Use pots large enough for the plant to grow into, rather than the smallest pot that fits today.
- Refresh the top layer of compost each spring, and repot into fresh compost when a plant becomes root-bound.
- Label pots, especially when herbs look similar as young plants — mint and oregano, for example, are easy to confuse.
Herbs also fit naturally into a small garden, where pots and vertical growing make the most of limited space. If your outdoor area is small, Small Garden Ideas for Patios, Balconies and Tiny Plots covers containers and vertical growing in more detail, and a herb pot by the door is often the most-used part of such a garden.
Light and Water Basics
Most culinary herbs want sun: at least a few hours of direct light a day, and ideally a sunny windowsill, balcony, or patio. Mediterranean herbs — rosemary, thyme, oregano, sage — want the sunniest spot you have and tolerate dry soil. Softer herbs — parsley, chives, mint, basil — tolerate a little less sun and like slightly more moisture, but still do best in a bright spot. If your only space is shaded, mint, chives, and parsley are the most forgiving choices, but expect slower growth than in sun.
Watering is where most beginners go wrong, usually by overwatering rather than underwatering. The rule is simple: check the soil before watering. Push a finger into the compost; if the top couple of centimetres are dry, water thoroughly until it runs from the drainage holes, then stop. If the soil is still damp, wait. Herbs in small pots in sun may need watering daily in hot weather, while the same herbs in a cool, shaded spot may need water only a few times a week. There is no fixed schedule that works everywhere, which is why checking the soil matters more than any calendar.
Feeding is light work for herbs. A weak liquid feed every few weeks during the growing season is plenty, and many herbs actually taste better when grown a little lean — overfed herbs grow lush but less flavourful. Do not feed newly planted herbs for the first few weeks, and stop feeding in autumn as growth slows. Herbs grown for flavour, not for size, reward a light touch.
Harvesting and Using What You Grow
Harvesting is not just the reward for growing herbs; it is part of keeping them healthy. Regular picking encourages bushy growth and prevents herbs from becoming leggy and woody. Pick from the top, taking a few centimetres of stem with leaves attached, rather than stripping leaves from the base. For most herbs, taking up to a third of the plant at a time is safe, and the plant will regrow. Avoid taking everything at once, especially from a young plant still establishing itself.
Different herbs are used differently, and knowing that helps you harvest at the right time. Soft herbs — basil, parsley, chives, mint — are best used fresh, added at the end of cooking or as a garnish, because their flavour fades with long cooking. Woody herbs — rosemary, thyme, oregano — hold their flavour in cooking and can be added earlier. Drying and freezing are both useful for gluts: woody herbs dry well hung in bunches, while soft herbs freeze well chopped in ice-cube trays with a little water, ready to drop into cooking.
Herbs also connect naturally to the kitchen, and a herb garden pairs well with a vegetable garden for a first growing season. If herbs go well and you want to grow more of your own food, How to Plan a Vegetable Garden for Your First Season covers site, soil, and a small first crop list. And herbs are not only for the garden: a pot of basil or mint on a kitchen windowsill, in a bright spot, brings the same fresh flavour indoors, and its colour suits a kitchen of any style — see Kitchen Colour Ideas From Classic White to Bold and Moody for kitchen schemes that welcome a touch of green.
Finally, plan for winter. Tender herbs such as basil will not survive frost outdoors, so bring them inside before the first cold nights, or accept them as annuals and start fresh in spring. Hardy herbs — rosemary in a sheltered spot, chives, mint, thyme — will usually survive winter outdoors in a pot, especially if the pot is raised off the ground and protected from the worst wind. Knowing which of your herbs are hardy and which are tender avoids the disappointment of losing a favourite to a single frost.
FAQ: Growing Herbs at Home
Which herbs are easiest for a complete beginner?
Mint, chives, parsley, and rosemary. They tolerate a missed watering and less-than-perfect conditions, and they are all useful in the kitchen. Start with three or four you actually cook with.
Why do my herbs keep dying?
The most common cause is waterlogging: pots without drainage, or soil kept constantly wet. Check drainage, let the soil dry between waterings, and make sure the pot is not standing in water.
Can I grow herbs indoors?
Yes, on a bright windowsill. Herbs need several hours of light a day, so a sunny sill works well, but a dark corner will not. Turn pots regularly so growth stays even.
How often should I pick herbs?
Regularly, and little at a time. Picking from the top encourages bushy growth. Taking up to a third of the plant at once is safe for most established herbs.
Conclusion
Growing herbs at home is simple when kept simple: a few forgiving herbs you actually use, pots with good drainage, a sunny spot, watering only when the soil is dry, and regular picking. That is the whole method, and it is enough for a first season of fresh herbs.
Start with three pots this week — mint, chives, and parsley are a reliable trio — and put them where you will see them every day. Fresh herbs by the kitchen door are a small daily pleasure, and a good first step into growing your own.
2 thoughts on “Beginner’s Guide to Growing Herbs at Home”