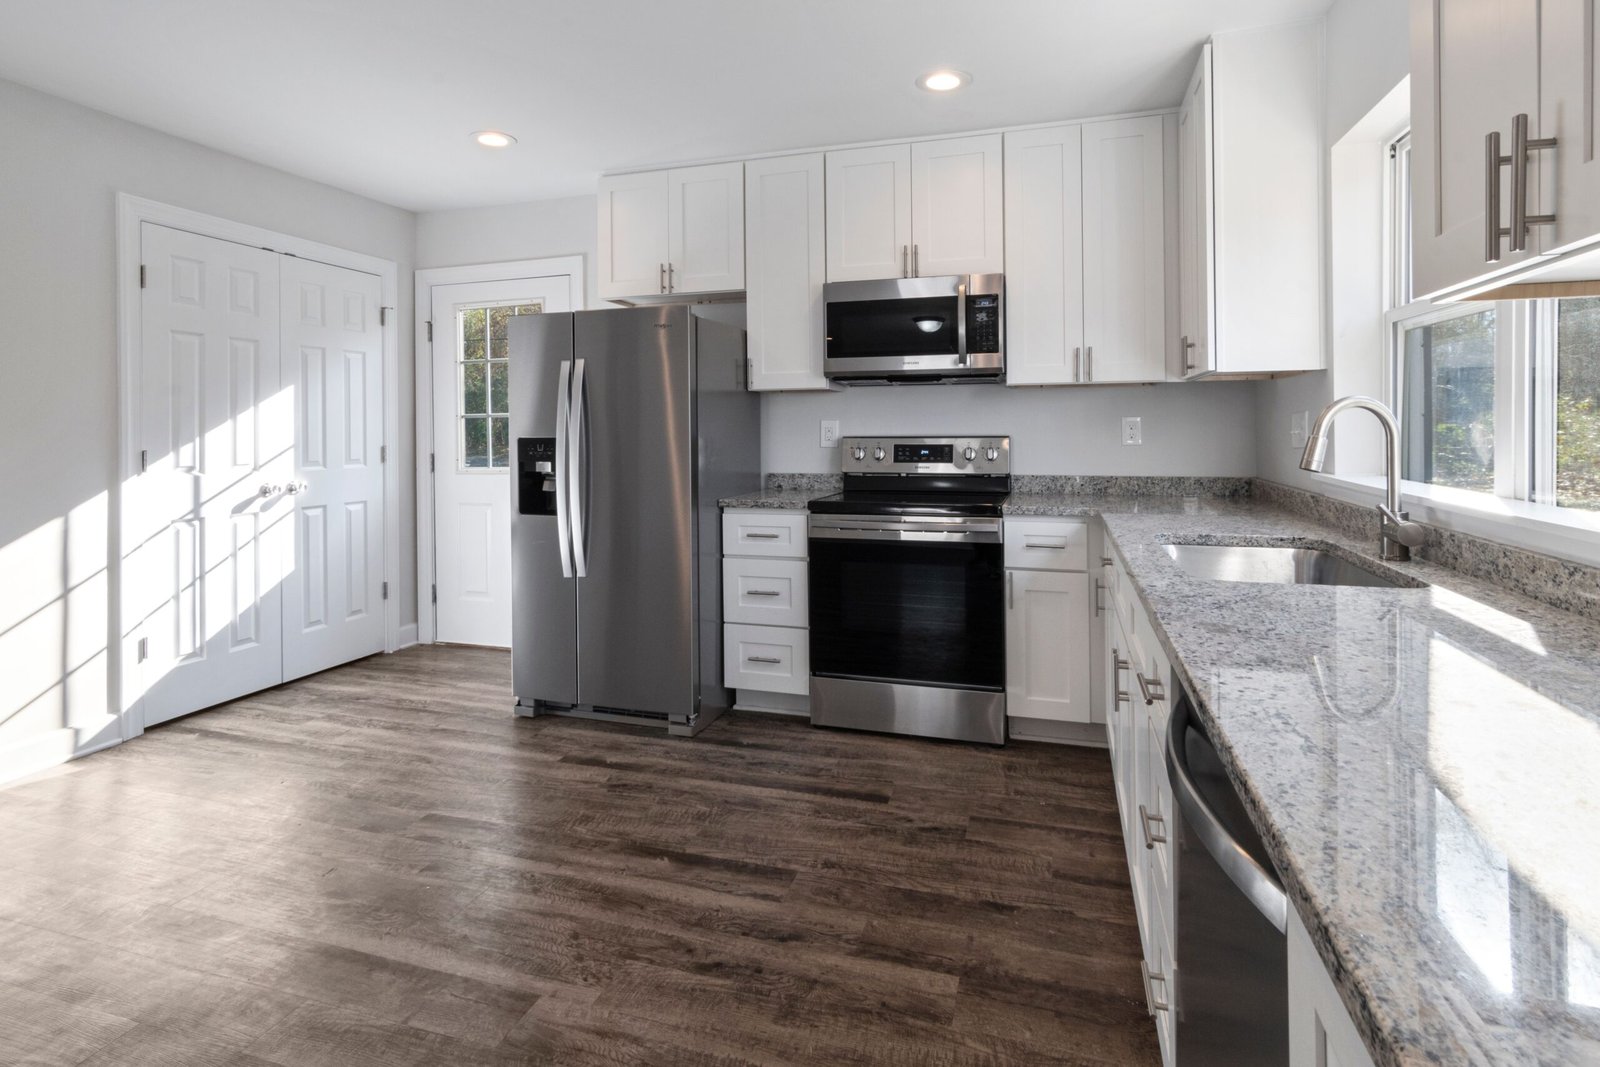
A kitchen makeover sounds expensive because the most visible version of one is: new cabinets, new worktops, new appliances, a bill that rivals a small car. But most kitchens do not need that. They need a visual reset — a change in colour, handles, light, and styling that makes the room feel new without replacing the boxes that actually hold everything. That is the budget makeover: the changes with the biggest visual return for the least spend, in the order that matters.
This guide works through those changes. It covers paint and handles, the single biggest visual change; lighting and splashback updates, which transform how the kitchen feels in the evening; worktop styling and open details, which finish the room; and what not to spend on first, because a budget makeover fails when money goes to the wrong place. The goal is a kitchen that feels genuinely renewed, not just tidied, for a fraction of a full renovation.
Paint and Handles: The Biggest Visual Change
Painting cabinets is the highest-impact, lowest-cost change available in a kitchen, and it is worth doing properly rather than quickly. Preparation is everything: clean the doors thoroughly to remove grease, sand lightly so the paint grips, prime with a primer suited to the cabinet material, and paint with a durable paint made for cabinets or furniture, in thin coats rather than one thick one. Rushing preparation — painting over grease, skipping primer, loading the brush — produces a finish that chips within months and looks worse than the original cabinets.
Colour choice for painted cabinets follows the same logic as any kitchen colour decision: test under the kitchen’s real light, consider the worktop and floor that are staying, and favour a colour you will live with for years rather than a fashionable shade. A warm white, a soft neutral, or a muted green all transform dated wood cabinets into a contemporary kitchen, and each pairs with the existing worktop more forgivingly than a bold colour that fights it. If you are unsure, paint one door first and live with it for a week before committing to the whole kitchen.
Handles are the second half of this change, and they are disproportionately effective for their cost. New handles — bar pulls, knobs, cup pulls, depending on the cabinet style — update the whole kitchen’s character in an afternoon, and they are one of the few makeover changes that is fully reversible. Measure the existing hole spacing before ordering, because handles that do not match the existing holes require filling and drilling, which adds work and risk. If the existing handles are a standard spacing, a straight swap is a simple, satisfying job.
One caution: painted cabinets and new handles will not fix a kitchen whose layout is genuinely broken or whose cabinets are structurally damaged. Doors that do not close, drawers that stick, carcasses that are swollen with water damage — these are problems that paint will hide for a month and then reveal again. Fix structure first, even if it means fewer cosmetic changes, because a beautiful finish on a broken cabinet is money wasted. For colour confidence before painting, the full range from classic white to bold palettes is covered in Kitchen Colour Ideas From Classic White to Bold and Moody.
Lighting and Splashback Updates
Lighting is the makeover change most people underestimate and most notice once it is done. A kitchen lit only by a single ceiling light feels flat and harsh in the evening, however new the cabinets are. Under-cabinet lighting — LED strips or small puck lights fixed beneath the wall cabinets — transforms the work surface, making prep easier and the kitchen feel warm and finished in the evening. It is also one of the cheapest lighting changes, because battery or plug-in options need no wiring.
Task lighting matters more than decorative lighting in a kitchen makeover. A bright, even light over the prep area and the hob, where work actually happens, is worth more than a statement pendant over a table that is rarely used for prep. If a pendant is wanted, place it where it serves a purpose — over an island, a breakfast bar, or a dining spot within the kitchen — rather than in the middle of the room where it lights nothing in particular.
A splashback update is the other high-impact, low-cost change. A tired, stained, or dated splashback drags down the whole kitchen, however good the cabinets are. Options range from paint made for tiles, to adhesive tiles that stick over existing ones, to a new tiled splashback in a simple, timeless style. The simplest option that looks intentional — a single colour, a simple pattern, a clean grout line — usually ages better than a bold, fashionable splashback that will date quickly. Keep the splashback calm, and let the cabinets and handles carry the character.
Both lighting and splashback changes reward a test-first approach. Try a strip of under-cabinet light in one section before committing to the whole kitchen, and hold splashback samples against the painted cabinets and the existing worktop under the kitchen’s light. A makeover that is tested in parts is far less likely to produce a combination that fights itself than one ordered all at once from a screen. Painting technique itself — preparation, priming, and finish — is covered in detail in How to Paint a Room Like a Pro: Preparation, Technique and Finish, and its principles apply directly to cabinets as well as walls.
Worktop Styling and Open Details
Worktops are expensive to replace and cheap to restyle, and styling is often enough. A worktop that is cleared, cleaned, and given a few intentional objects — a wooden board, a plant, a set of oils in a tray, a fruit bowl — looks entirely different from the same worktop covered in appliances, post, and clutter. The rule is the same as for any surface: fewer, larger, intentional objects look more expensive than many small, scattered ones.
Open details can finish a makeover without new cabinets. Removing the doors from one wall cabinet, or replacing a solid door with a glazed one, creates an open display that breaks up a run of closed cabinets and gives the kitchen a more contemporary feel. It works best for a single cabinet holding attractive, everyday items — crockery, glasses, a few jars — rather than a whole wall of open shelving, which demands constant tidiness. A single open cabinet is a feature; a whole kitchen of open shelves is a maintenance commitment, a distinction explored in Open Shelving in the Kitchen: When It Works and When It Doesn’t.
Other low-cost details add up. A new tap, if the existing one is dated or dripping, updates the sink area out of proportion to its cost. A new blind or curtain softens a window that has been bare or covered in a tired fabric. A rug or runner in a washable material adds warmth to a hard floor and defines the work area. None of these changes alone transforms a kitchen, but together, after paint, handles, lighting, and a splashback, they are what make the room feel finished rather than half-done.
Keep a clear budget line for these finishing details. It is tempting to spend the whole budget on paint and handles and leave nothing for the details, but a makeover that stops at paint feels unfinished, however good the paint is. Reserve a portion of the budget — even a small one — for lighting, a splashback, and a few styling pieces, because those are the changes that make the room feel new when you walk in, rather than merely recoloured.
What Not to Spend On First
A budget makeover fails most often not through bad choices but through spending in the wrong order. The most common early mistake is buying accessories before fixing the big surfaces: new tea towels, new canisters, new artwork, all in a kitchen whose cabinets are still the colour you dislike and whose lighting is still harsh. Accessories finish a makeover; they do not start one. Spend on paint, handles, light, and splashback first, and let accessories follow the room they now suit.
The second mistake is replacing something that works because it looks dated, when a cheaper change would do. A worktop that is sound but tired can be restyled; a floor that is worn but solid can be cleaned and given a runner; a sink that is functional but old can be updated with a new tap. Replacement is the most expensive change in a kitchen, and in a budget makeover it should be reserved for things that are broken, not things that are merely unfashionable.
The third mistake is the partial makeover that stops halfway through the visible surfaces. Painting the wall cabinets but not the tall units, changing handles on the drawers but not the doors, updating the splashback on one wall but not the other — each leaves a kitchen that looks half-finished, and half-finished reads as unfinished rather than intentional. If the budget will not cover the whole kitchen, choose a smaller scope and finish it completely — one run of cabinets, one wall, one area — rather than spreading a thin change across everything.
Finally, do not spend on a makeover to avoid a repair. A leaking tap, a broken hinge, a drawer that will not close — these are not cosmetic problems, and a fresh coat of paint will not fix them. Fix what is broken first, even if it means a smaller cosmetic budget, because a kitchen that works badly will feel bad however good it looks.
Conclusion
A budget kitchen makeover is a sequence, not a shopping list. Paint and handles first, because they change the room’s character most for the least money. Lighting and splashback next, because they change how the room feels and how it works in the evening. Worktop styling and open details to finish, because they make the room feel intentional rather than merely updated. And restraint throughout — spend on what changes the room, not on what merely decorates it, and finish each change completely before starting the next. Done in that order, a kitchen can feel genuinely new without a single new cabinet.
FAQ: Budget Kitchen Makeovers
What is the cheapest change that makes the biggest difference?
Painting the cabinets, closely followed by new handles. Together they change the kitchen’s colour and character for a fraction of the cost of replacement, and both are reversible if you change your mind.
Should I paint cabinets myself or hire someone?
Painting cabinets yourself is entirely achievable if you prepare properly — clean, sand, prime, and use thin coats — and it saves the largest single cost. Hiring someone makes sense if the cabinets are extensive, the finish needs to be flawless, or you do not have the time to do preparation properly, because rushed preparation is what causes a poor finish.
Can a budget makeover work in a kitchen with dark or dated cabinets?
Yes, and dark or dated cabinets are often the best candidates, because the change is most visible. A warm white or soft neutral over dated wood transforms the room more dramatically than the same change over already-light cabinets, provided the cabinets are structurally sound.
How do I avoid a makeover that looks cheap?
Finish each change completely, keep the palette calm, and spend on the visible surfaces first. A makeover looks cheap when it is half-finished, when colours fight each other, or when money went to accessories before the big surfaces were fixed.