
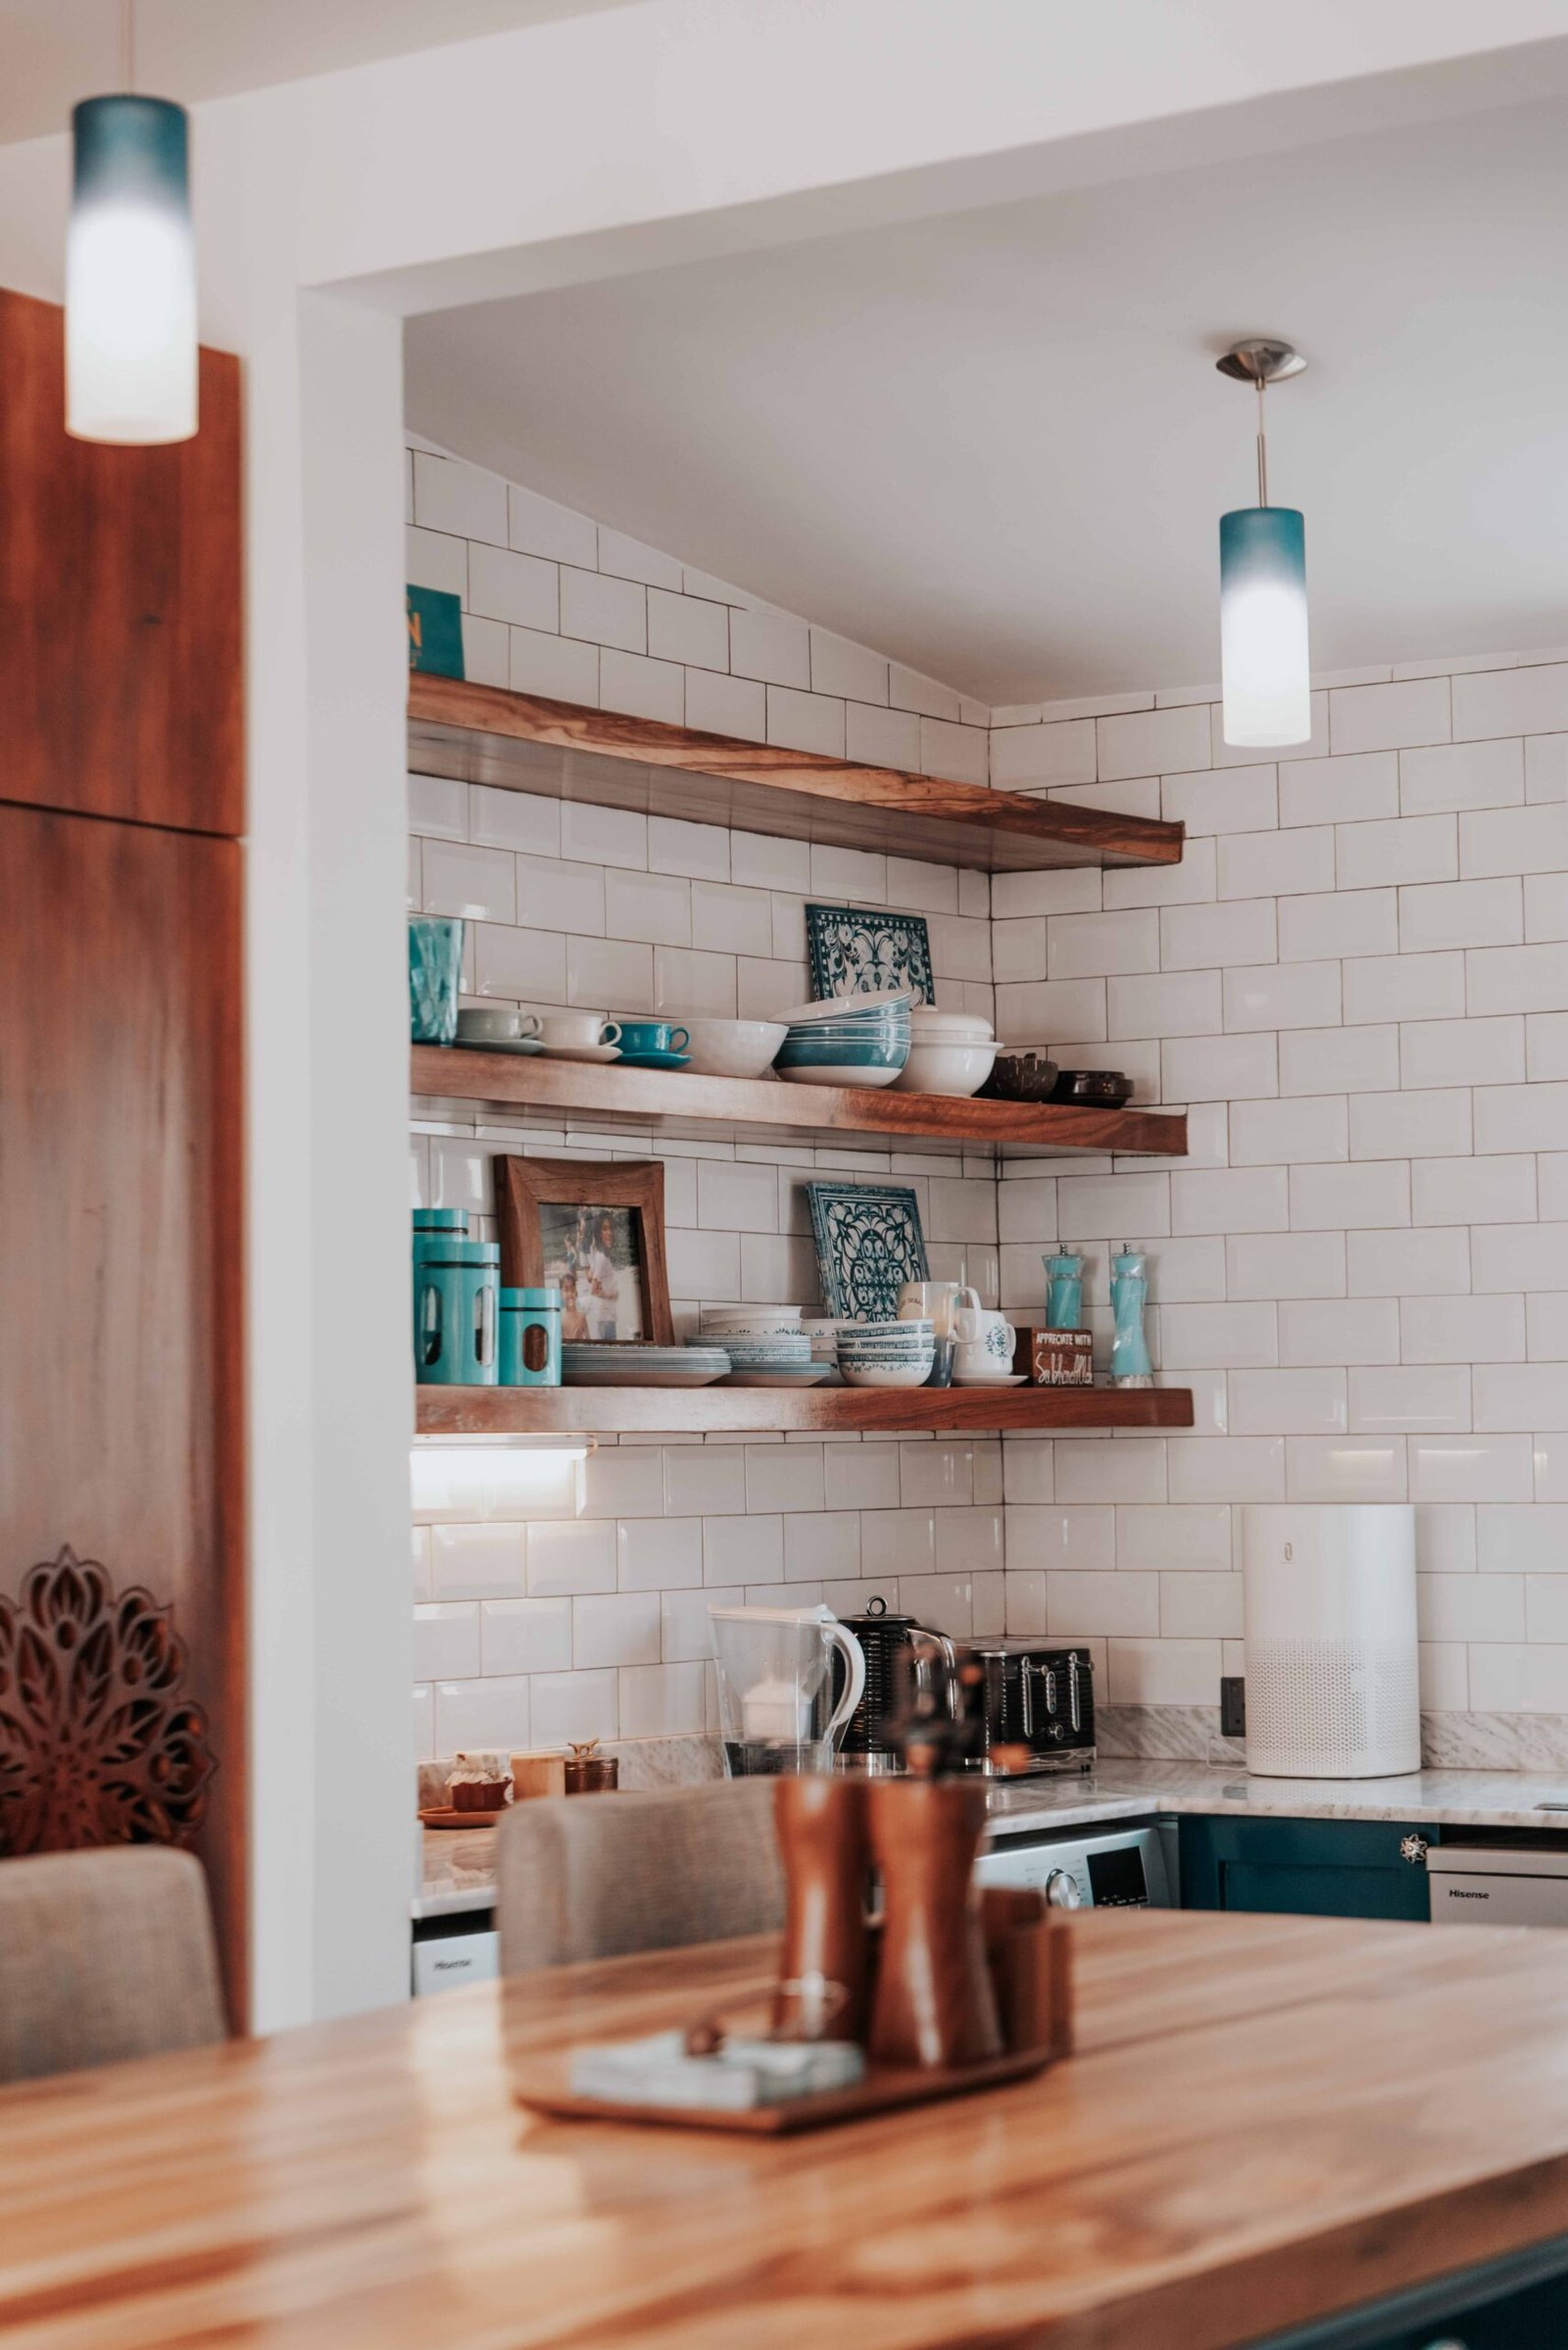
Open shelving looks effortless in photographs: a few beautiful bowls, a stack of books, a plant trailing gently over the edge, and acres of calm empty space around them. In real kitchens and living rooms, though, open shelves have a habit of turning into something else — a crowded row of mismatched mugs, half-empty jars, and things that migrated there because no cupboard had room for them.
The difference between those two versions is rarely money or taste. It is editing, grouping, and restraint. Open shelves show everything, so every item on them becomes part of the decoration whether you meant it to or not. This guide explains how to style open shelving so it looks intentional and inviting rather than messy — what to put on display, what to hide, how to group things, and how much empty space to leave on purpose.
Edit First, Style Second
It is tempting to start styling by shopping for new jars, baskets, and decorative pieces. Resist that urge. The most important step happens before anything decorative goes on the shelf: take everything off, clean the shelves, and decide what actually deserves to be visible.
Start by removing every item from one set of shelves. Wipe the shelves down, then sort what you removed into three groups: things you use often and that look good on display, things you use often but that look messy on display, and things you rarely use at all. The first group earns a place back on the shelves. The second group needs a closed home — a cupboard, a drawer, or a lidded basket. The third group can be stored elsewhere or let go.
This honest sort matters because open shelving punishes “just in case” storage. A chipped mug, a faded plastic container, or a stack of takeaway menus will draw the eye every single day, no matter how pretty the rest of the shelf is. If an item would embarrass you in a photograph of the room, it probably should not live on an open shelf.
- If you have not used it in months, it does not need prime shelf space. Everyday items earn display; occasional items belong in closed storage.
- Duplicates rarely need displaying. You may own six wooden spoons, but one or two in a crock look styled, while all six jammed together look like a drawer that exploded.
- Match the shelf to the room. In a kitchen, everyday plates, bowls, and glasses make sense on display. In a living room, books, plants, and a few decorative objects make more sense than kitchen overflow.
- Be honest about dust and grease. Open shelves in kitchens collect both. If you will not realistically wipe items regularly, keep the display sparse so cleaning stays quick.
Editing is also where you decide how many shelves should be display and how many should be practical. There is no rule that every open shelf must be a styled vignette. A kitchen shelf holding everyday plates and bowls, neatly stacked, can look just as good as a decorative shelf — as long as it is tidy, consistent, and not overfilled. If you are weighing up whether open shelves suit your kitchen at all, Open Shelving in the Kitchen: When It Works and When It Doesn’t walks through the trade-offs honestly.
Group by Shape and Height
Once you have edited down to items worth displaying, the next step is grouping. Items scattered one by one along a shelf look like a line-up of unrelated objects. Items grouped into small clusters look like deliberate arrangements, even when they are everyday things.
Think of each shelf as two or three small groupings rather than one long row. A group might be a stack of bowls beside a small plant, or a row of books with a vase at one end. Leave a clear gap between groups so the eye reads them as separate arrangements instead of one continuous jumble.
Height variation is what stops a shelf from looking flat and monotonous. A shelf where everything is the same height — a row of identical jars, for example — can look like a shop display rather than a home. Mixing tall, medium, and low items creates a gentle rhythm that feels natural:
- Anchor with something tall. A tall vase, a large jug, a stack of books stood upright, or a trailing plant gives each grouping a visual anchor at one end.
- Add a medium layer. Bowls, a medium-sized plant, or mugs hung on hooks beneath the shelf fill the middle height without competing with the anchor.
- Finish with something low. A small stack of books laid flat, a low bowl, or a candle keeps the grouping grounded and stops it from looking top-heavy.
Shape matters too. Round bowls, rectangular books, and tall bottles each bring a different silhouette, and mixing shapes keeps a shelf interesting. But too many competing shapes in one small grouping can look chaotic. A good rule is to keep each grouping to two or three shapes at most, and repeat a shape or colour somewhere else on the shelves so the whole arrangement feels connected.
Leave Breathing Room on Purpose
This is the step most people skip, and it is the one that makes the biggest difference. A shelf that is full from end to end, with items touching each other and the shelf above, will always look cluttered, however beautiful the individual pieces are. Empty space is not wasted space on an open shelf — it is what makes the display readable.
Aim to leave roughly a quarter to a third of each shelf empty. That does not mean one bare shelf and the rest crammed; it means a little breathing room on every shelf. Leave a gap between groupings, leave space above shorter items so they do not brush the shelf above, and resist the urge to fill every gap with one more small thing.
Breathing room also makes shelves practical. If every item is wedged tightly together, taking out a plate or a book becomes a careful extraction exercise. When items have a little room around them, the shelves are easier to use day to day — and much easier to keep tidy, because there is actually space to return things to their proper place.
- Use fewer, larger items. One large bowl makes more impact and takes less visual effort to process than six small ornaments filling the same space.
- Let one shelf be calmer than the others. A shelf with just a plant and a stack of bowls gives the eye a resting place between busier shelves.
- Leave the ends open. Items pushed right to the edges of a shelf can make a shelf feel crammed. Pulling groupings slightly inward frames them better.
- Step back and look. Stand across the room and squint slightly. If the shelf reads as one busy block, it needs more gaps. If you can pick out individual groupings, the balance is probably right.
What to Hide and What to Show
The principle is simple: show what looks good and what you use often, and hide everything else. That sounds obvious, but it is easy to forget when you are trying to find a home for everything at once. A few clear rules help.
Good candidates for display
- Everyday plates, bowls, and glasses in matching or coordinating sets.
- Books you actually read, grouped by size or colour.
- Plants, especially trailing ones that soften the shelf edge.
- One or two decorative objects per shelf — a vase, a framed print leaning against the wall, or a basket.
- Items with a consistent colour or material, such as white ceramics or natural wood.
Better hidden away
- Mismatched mugs, chipped items, and faded plastic containers.
- Cleaning products, medicines, and anything that looks like a job rather than a display.
- Small, fiddly items that multiply: packets, sachets, batteries, and loose cutlery.
- Anything you reach for rarely, or that you keep “just in case”.
Hidden does not mean forgotten. A lidded basket on a lower shelf, a closed cupboard nearby, or a drawer under the shelves can hold the less photogenic essentials without breaking the look. For practical systems that keep those hidden items easy to find, How to Organize Kitchen Cabinets So Everything Is Easy to Reach covers sorting and labelling in more detail.
Safety matters too, especially with open shelves. Heavy items should go on lower shelves, not high up where they are hard to lift safely, and shelves themselves should be fixed securely to the wall. If you have children or pets, keep anything breakable or sharp well out of reach, and anchor tall shelving units properly. Guidance on home safety is published by the U.S. Consumer Product Safety Commission at cpsc.gov.
Finally, remember that open shelving is not a one-time project. It needs a quick reset every so often: return items to their groupings, wipe the shelves, and remove anything that has crept back on. That small habit is what keeps styled shelves looking styled, rather than slowly reverting to storage. For a broader look at making walls work harder without adding clutter, see Budget-Friendly Wall Decor Ideas That Don’t Look Cheap.
FAQ: Styling Open Shelving
How do I stop open shelves looking messy?
Edit first, then group items into small clusters, and leave roughly a quarter to a third of each shelf empty. Show only items that look good and that you use often, and hide everything else in closed storage nearby.
Should everything on open shelves match?
No, but it should coordinate. A consistent colour or material — white ceramics, natural wood, or a repeated accent colour — ties different items together. Mismatched items in the same colour family usually look intentional; completely unrelated colours and shapes in equal measure tend to look chaotic.
What if I have too much stuff for my open shelves?
That is a sign to use closed storage as well. Open shelves work best when they hold a curated selection, not everything you own. Keep everyday items on display, and store the rest in cupboards, drawers, or lidded baskets. If every shelf is full, you probably need fewer items on display, not more shelves.
How high should I hang open shelves?
Hang shelves where you can reach everyday items comfortably, usually with the lowest shelf around shoulder height or a little below, depending on the room. In kitchens, avoid hanging shelves so high that plates and glasses are hard to lift safely, and keep heavy items on lower shelves.
Conclusion
Styling open shelving without it looking messy comes down to three habits: edit ruthlessly, group by shape and height, and leave breathing room on purpose. Show the items that look good and that you use often, hide the rest, and let empty space do its quiet work of making the display readable.
Start with one set of shelves. Take everything off, sort honestly, and put back only what earns its place, grouped into two or three clusters per shelf with gaps between them. Step back, squint, and adjust until the shelves read as intentional rather than crowded. Done that way, open shelving stops being a storage problem and becomes one of the most inviting features in the room.
3 thoughts on “How to Style Open Shelving Without It Looking Messy”